|
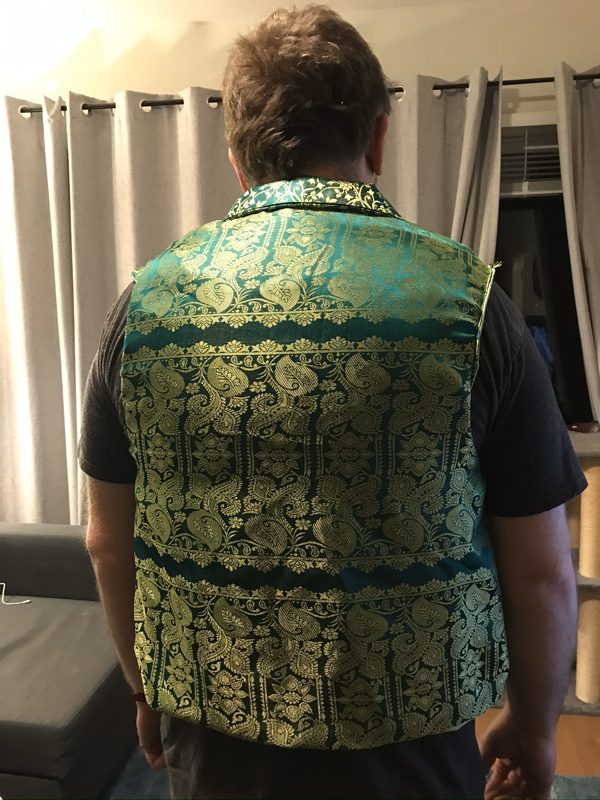
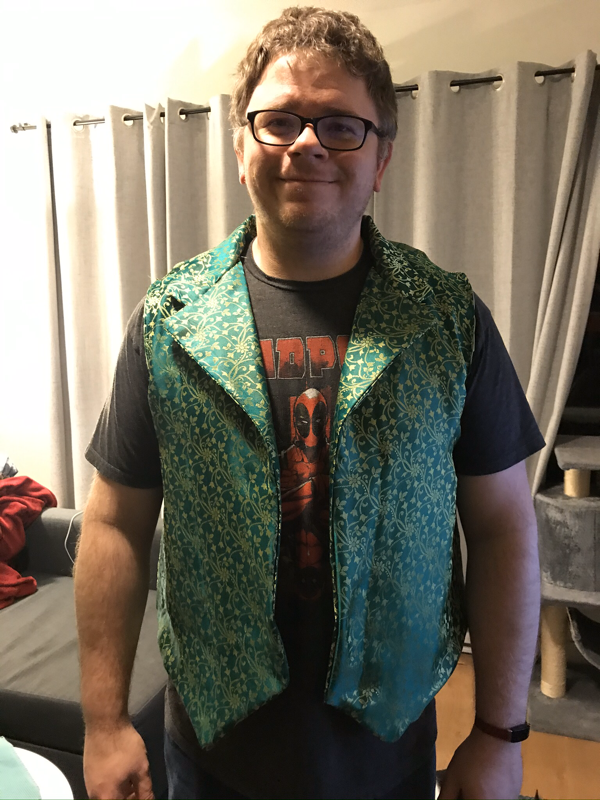
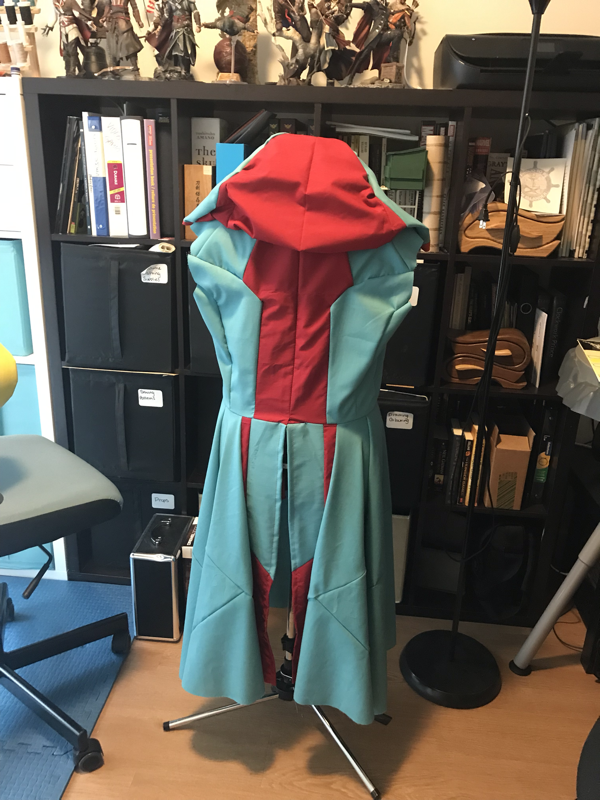
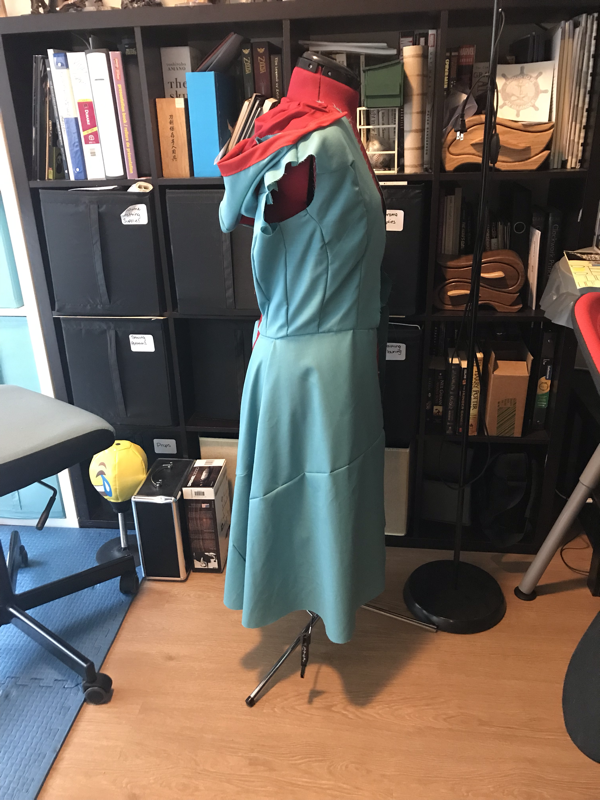
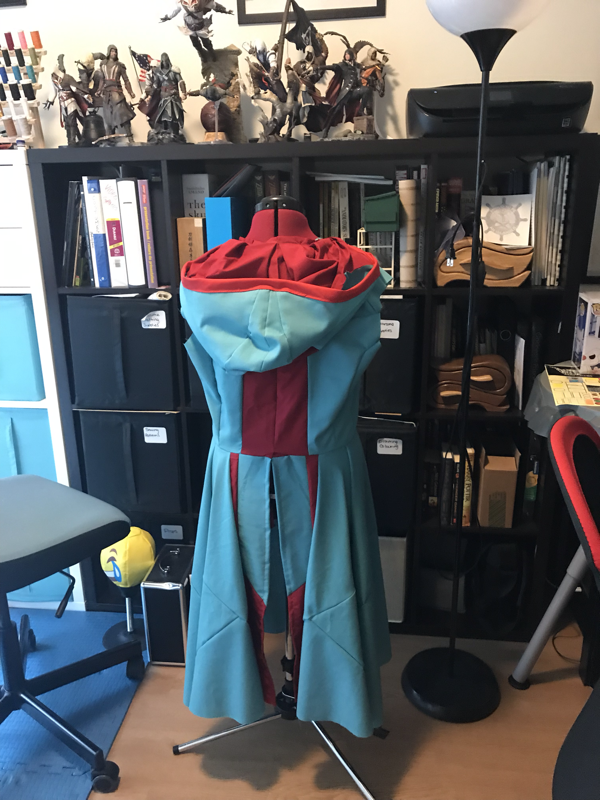
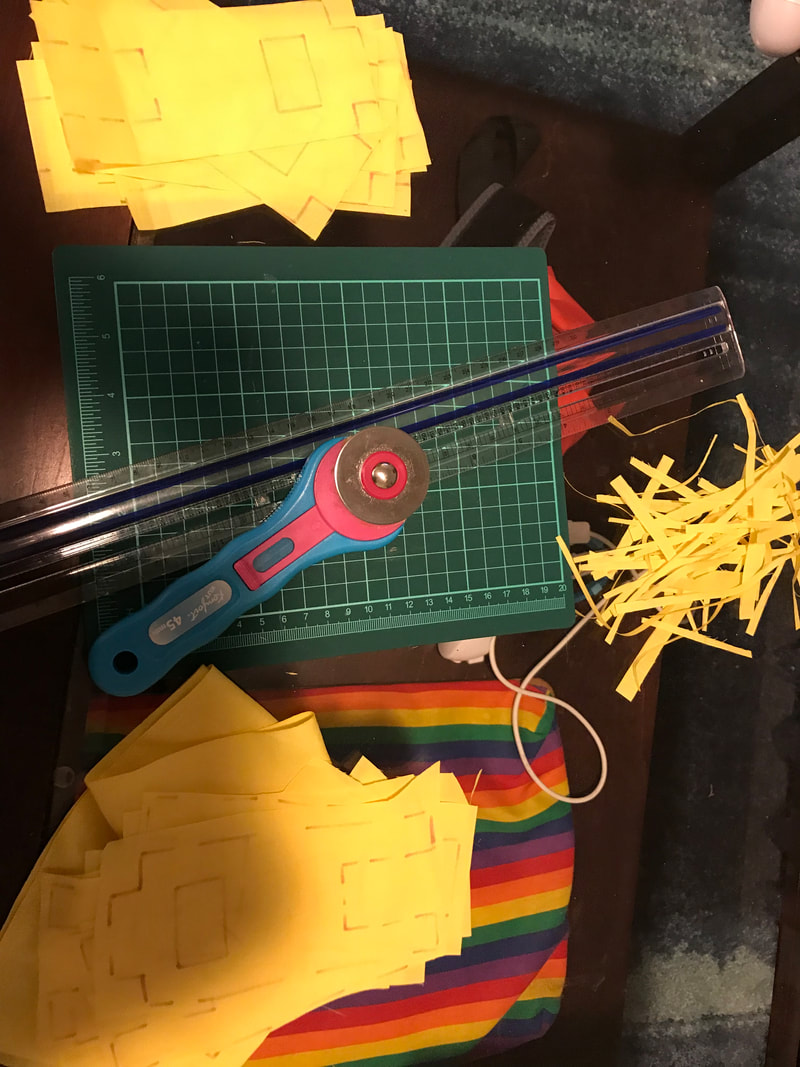
This week I wanted to share with you the progress on my Husband's impromptu cosplay of Jacob Frye! Now, my Husband isn't a cosplayer (at least not yet). This will be the first time he has worn a costume outside of Halloween. I found out that Fan Expo was hosting a couples cosplay contest and thought, this would be the perfect way to introduce him to cosplay and there is some incentive. Since Evie has a brother, this works out perfectly! He is super excited to cosplay for the first time, but also really nervous. We’ve been trying to make his first costume as awesome and accurate as possible to make him feel better about walking around in it all day! Here are some progress photos:
0 Comments
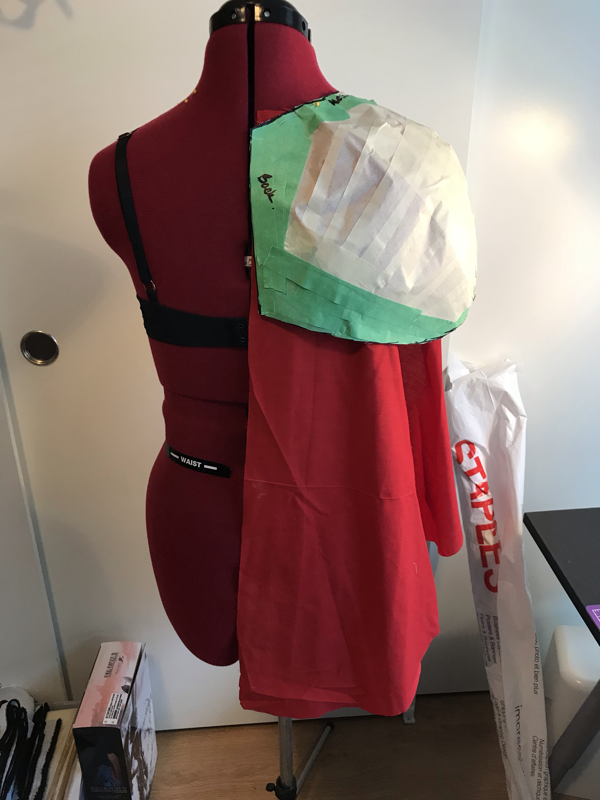
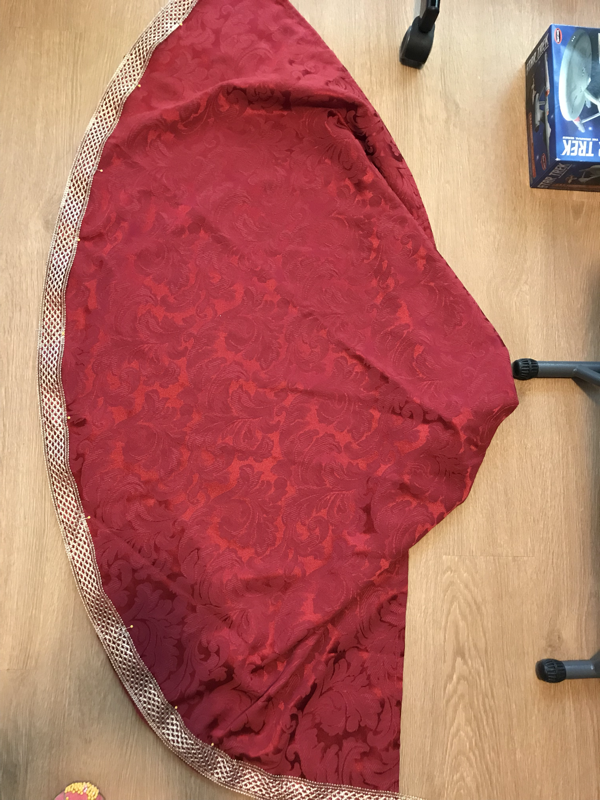
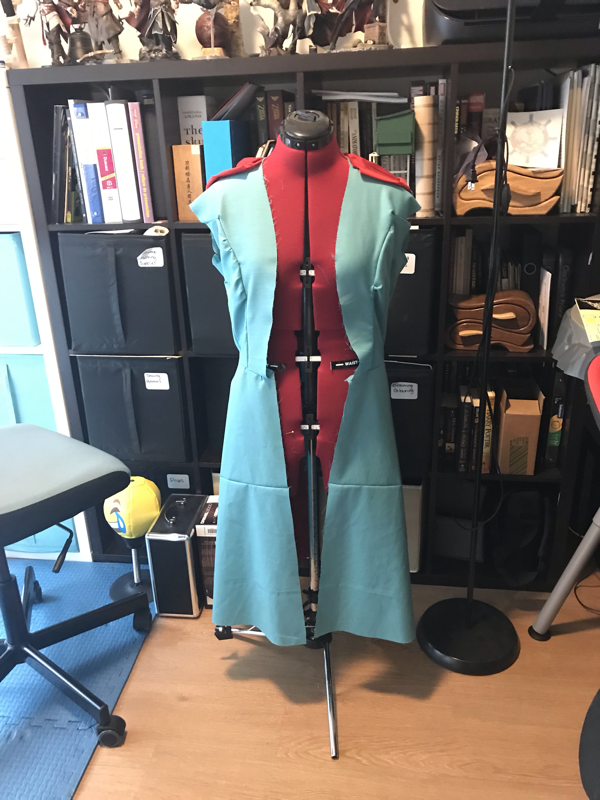
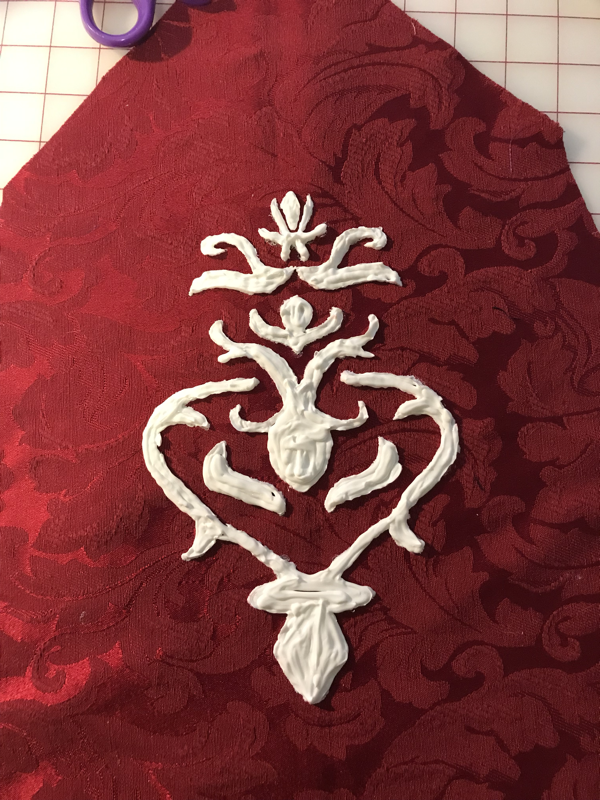
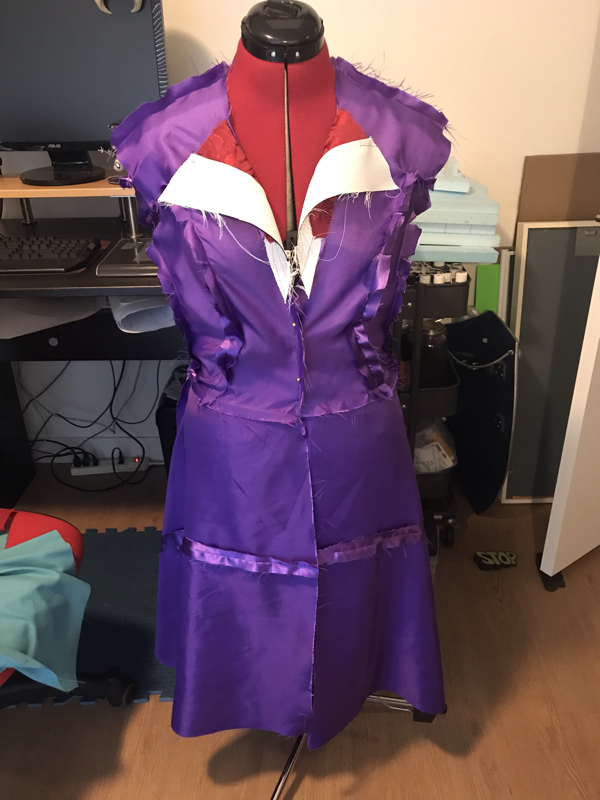
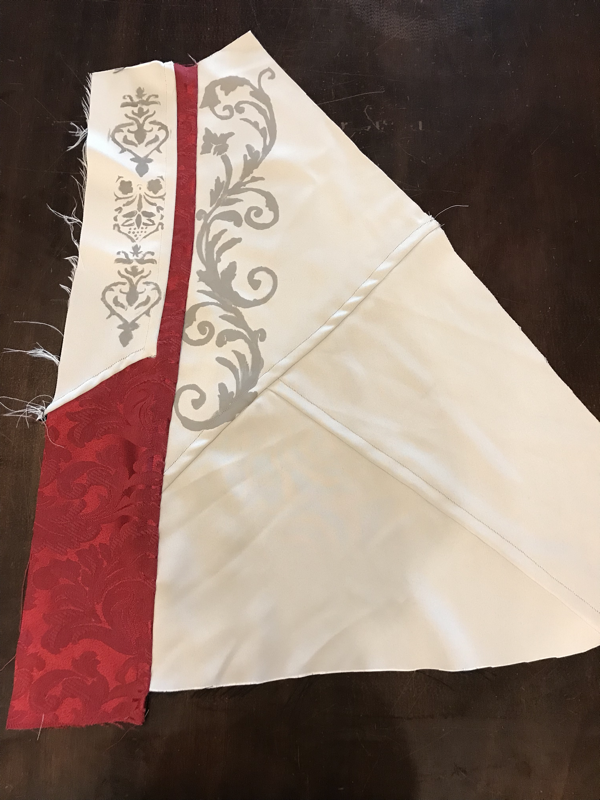
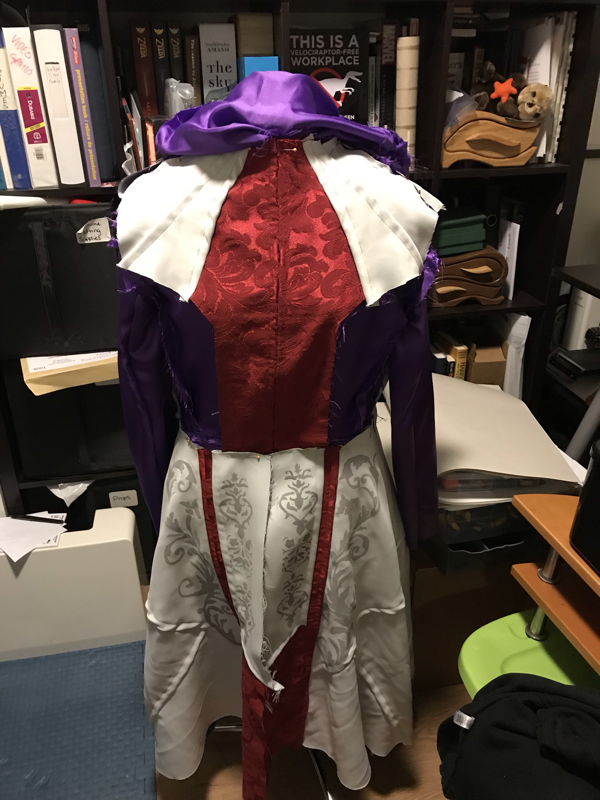
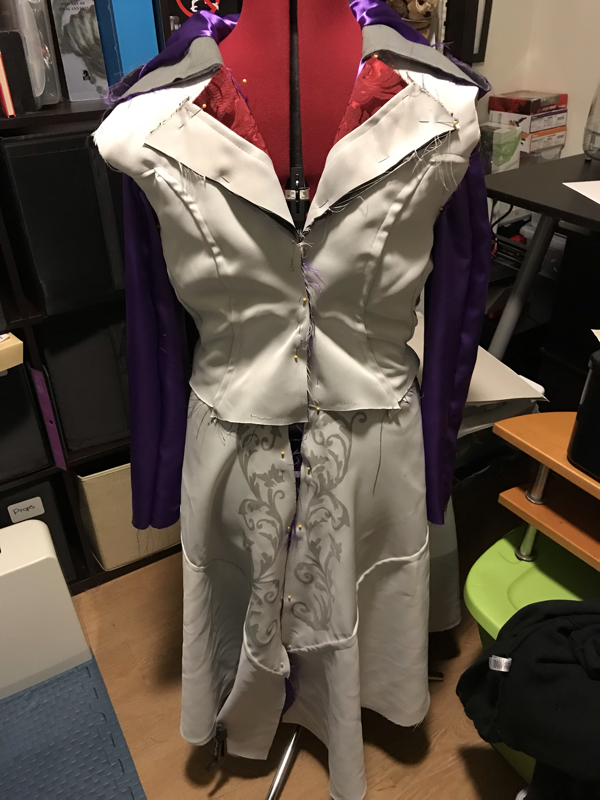
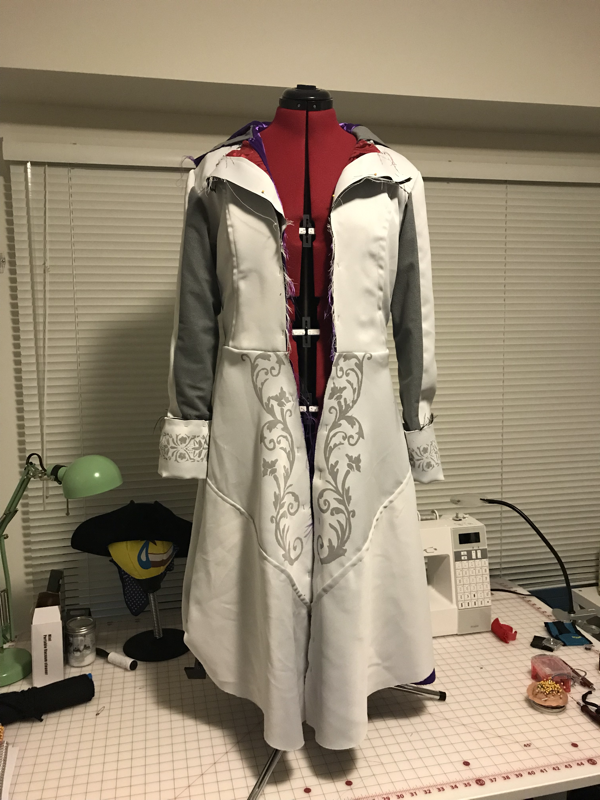
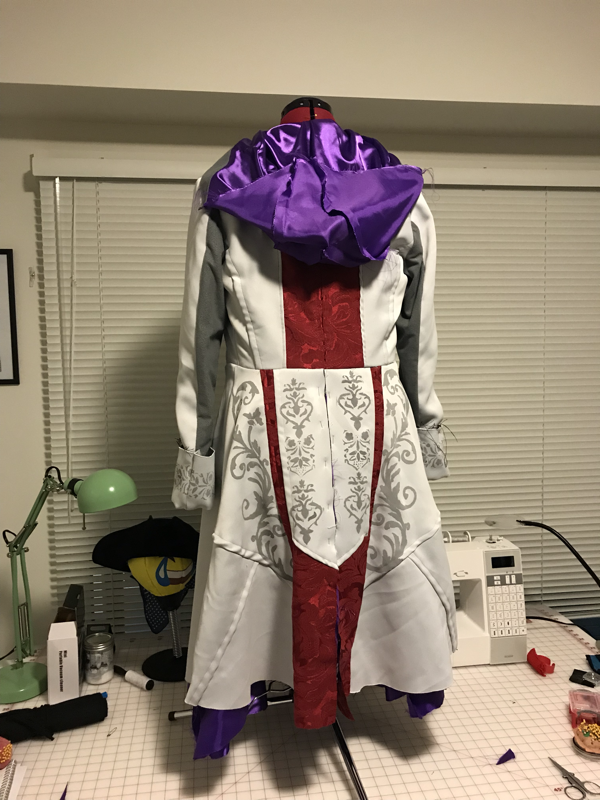
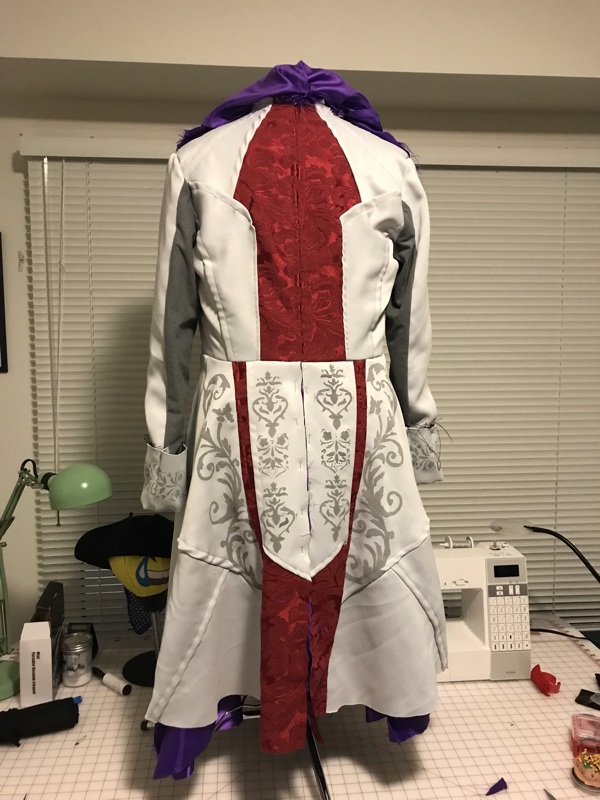
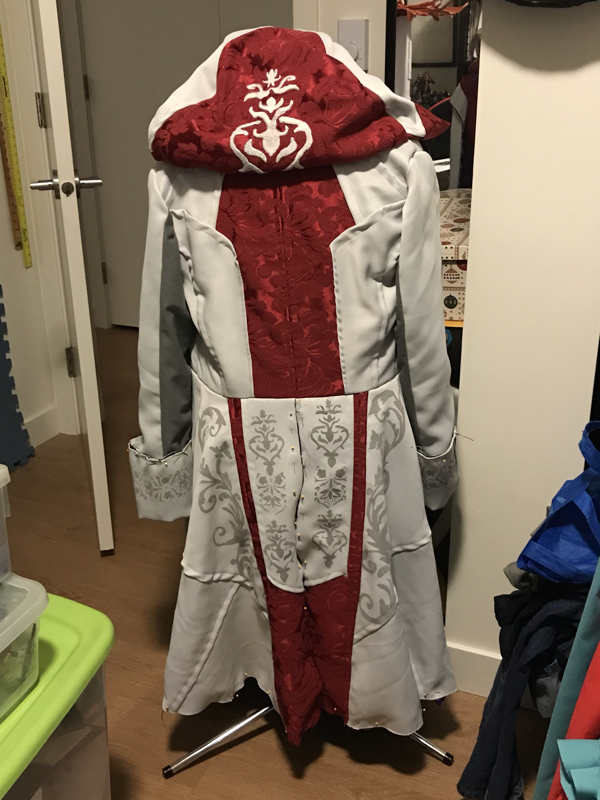
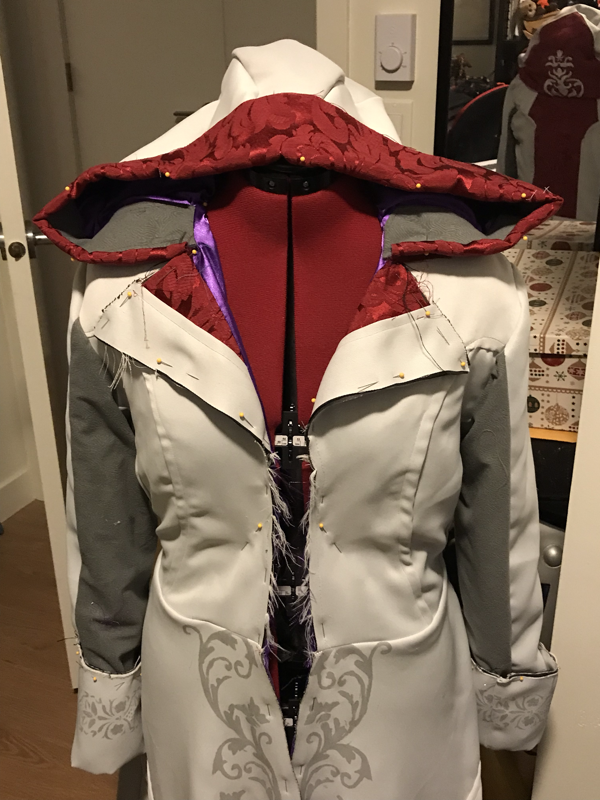
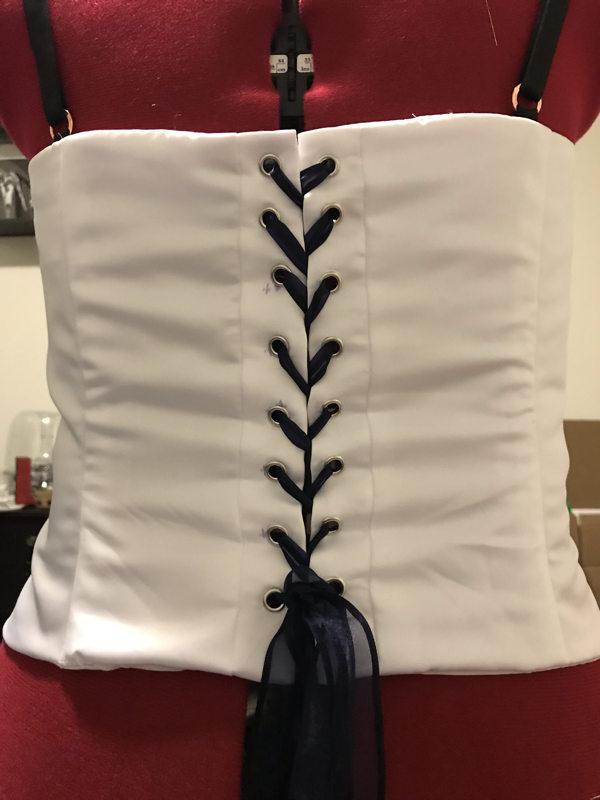
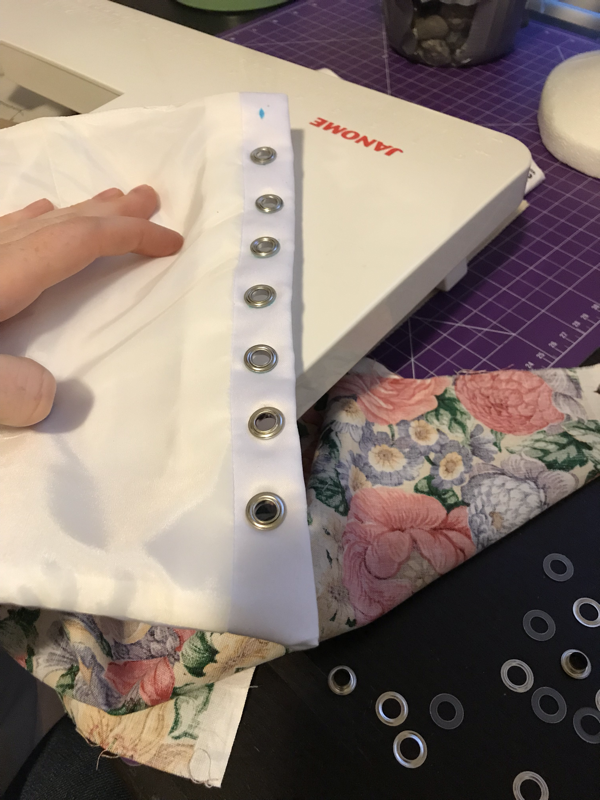
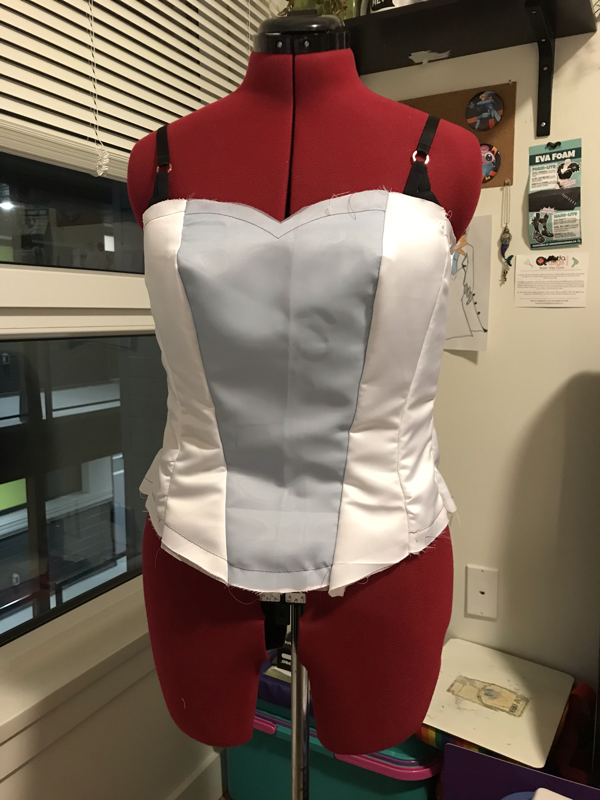
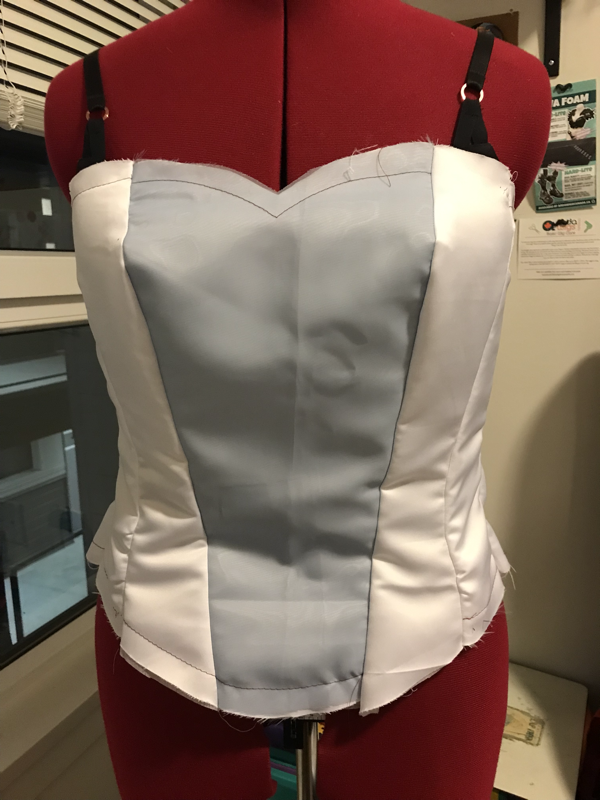
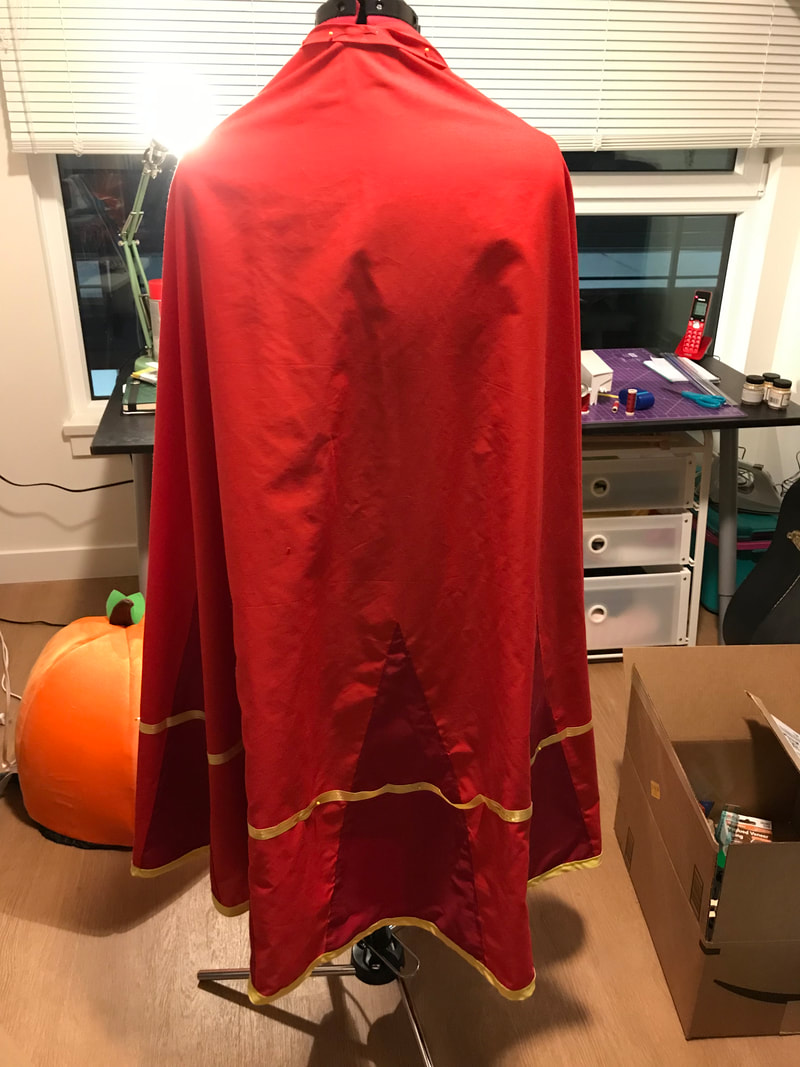
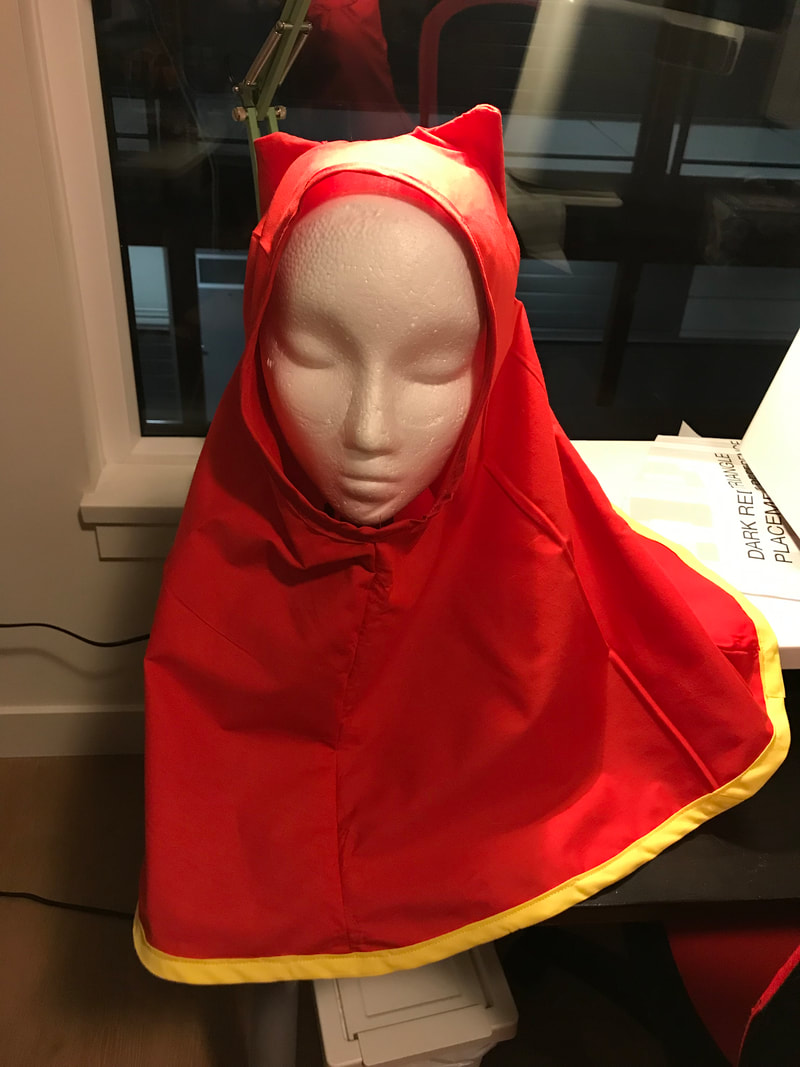
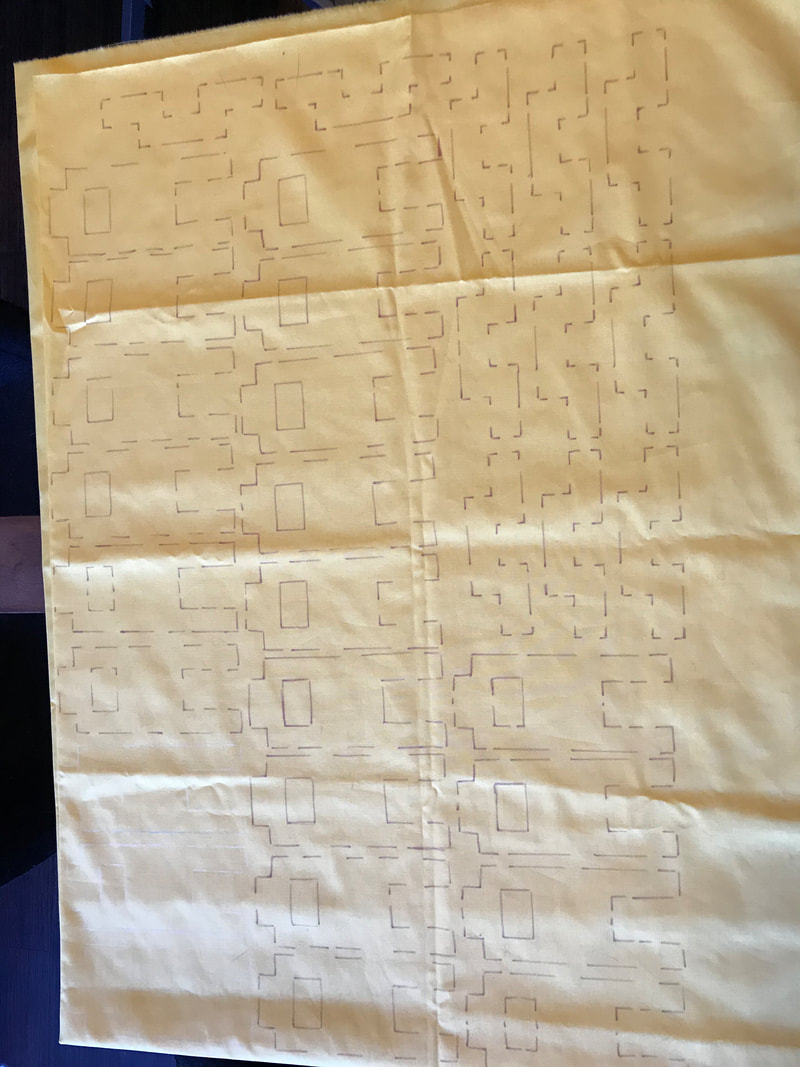
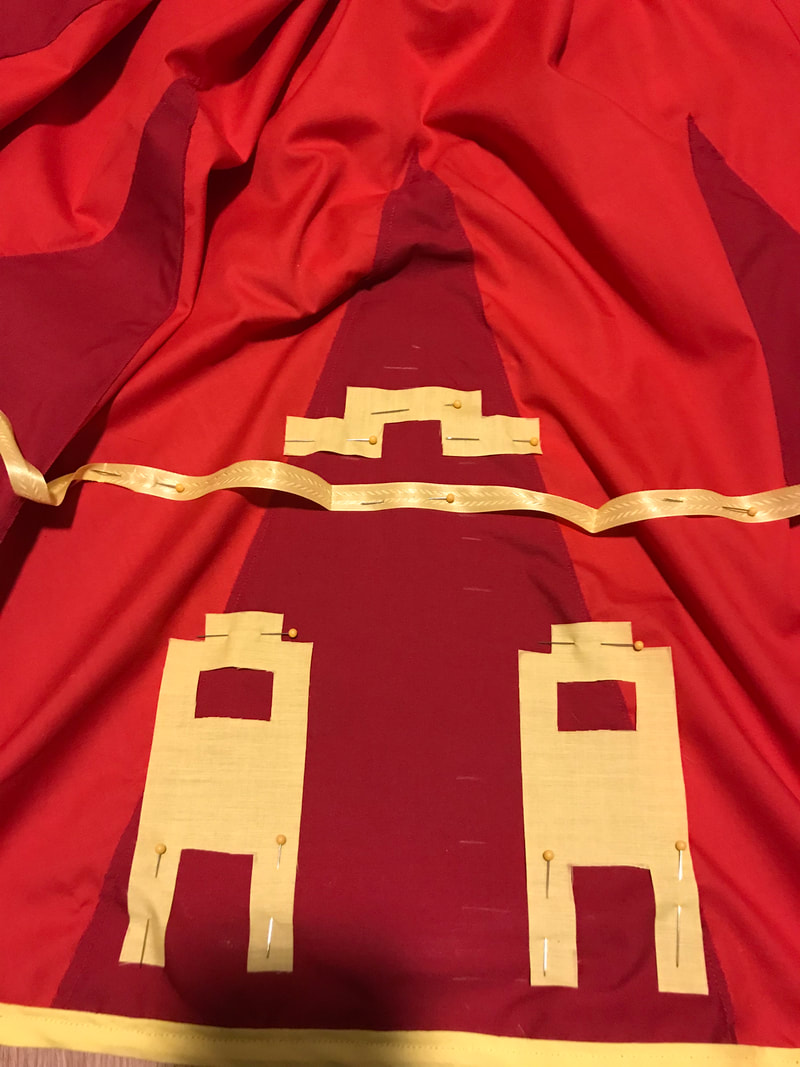
There has been so much work going on with this costume. So many things turning out great, so many things going on wrong. This has honestly been the most difficult costume I have made myself, and the most difficult experience of making a costume. Once she is complete, I will post the whole story in my "Characters" section so you can read all about the trials and tribulations! At this point, we are just finishing up the jacket! This week I'll be adding some snaps to hold the cape and pauldron in place, as well as painting and finishing up the shoulder guard. Once all this is finished, we are switching over to a quick project: Jacob Frye! I'm going to be making Jacob's vest, cummerbund and tie for my Husband to wear at Fan Expo! Stay tuned for some pictures of Jacob! 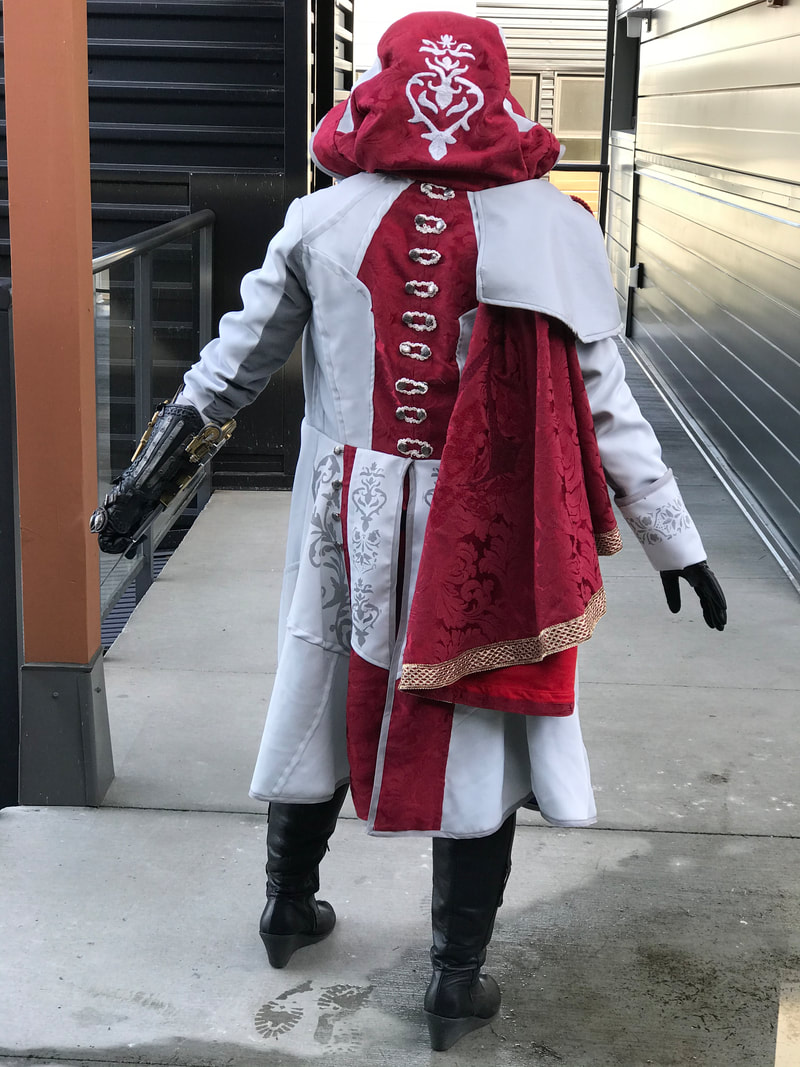 Here is my first in depth look at progress on my Evie Frye costume. This one is a beast! I've had this costume planned for a few years and collected material along the way, but it wasn't until now that I felt I had the knowledge and skills to take this on. So far I have the jacket almost completed, and I have the pants almost completed. I have mocked up the shoulder pauldron and made the cape, which has been handed off to a friend for embroidery work. The fabric is all cut out for the blouse and the vest, now they just need sizing and sewing. The belt buckles are painted and need weathering, as well as I will attach them to the belts. Finally I need to stitch up the sides of the cummerbund and add some velcro to the back to attach it nice and neat. So rather than discussing what has to get done, let's talk about what has been done. This jacket has been a monster to work on. I started by picking out a pattern that I felt was similar to what I needed for the completed design. I made a muslin of the original pattern, then took a marker to the fabric, drawing out my new pattern pieces. I cut up that mock up, and made a second mock up with the new pattern pieces making sure everything fit together correctly. Even with the draft jacket I still ended up making sizing changes to the final jacket and adjusting how the skirt falls, moving seams around and also adjusting the lining to fit the outer jacket. This has been an intense learning experience, but I'm happy how it has turned out so far. My final challenge will be to figure out how to keep the pauldron and cape on my shoulder, preferably without having to attach and snaps or velcro to the underside and the jacket shoulder. I'm aiming to have Evie completed for October 27th 2019 to debut her at Assassin's Creed Symphony! 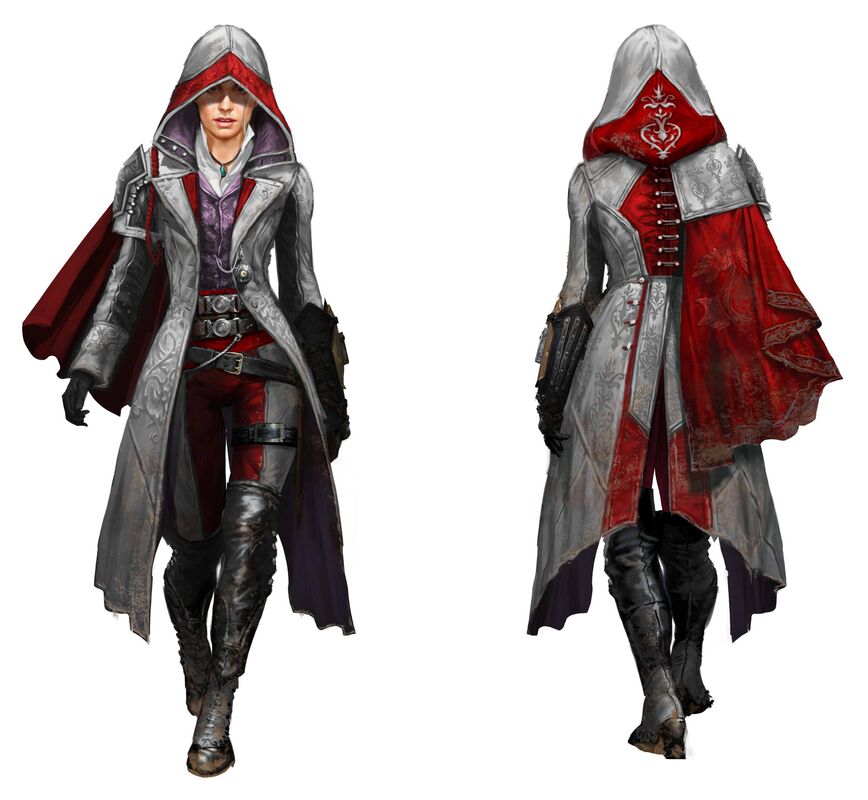 Concept art of Evie Frye While I’ve been working like crazy to get this done, and I’ve been happy with my progress, this costume is officially on HOLD until further notice. This is the first costume I’ve had everything cut out and sized and then lost weight in the middle of making it. So until I do some problem solving to figure out how to best tackle sizing the corset down, I will have to move onto another costume. Really excited that I got to make this little guy! My friend is dressing up as Gary from Final Space and insisted that he needed to have his sidekick with him for Calgary Expo! This was my second time making a plush toy, and my first time making a sewing pattern for a plushie. Also my first time working with minke fabric and embroidery. A lot of firsts. I looked up a bunch of tutorials and reference to try to get this guy as close as I could. I'm pretty happy how he turned out, given my lack of experience. And most importantly is my friend is super happy with him :)  As many of you will know, there are always too many costumes to make and too little time. The inspiration is always flowing, then you find a project that you become obsessed with and you just HAVE to make it, but what about the other costumes you already had planned? You don't want to continue pushing other projects back because then they will never get made.
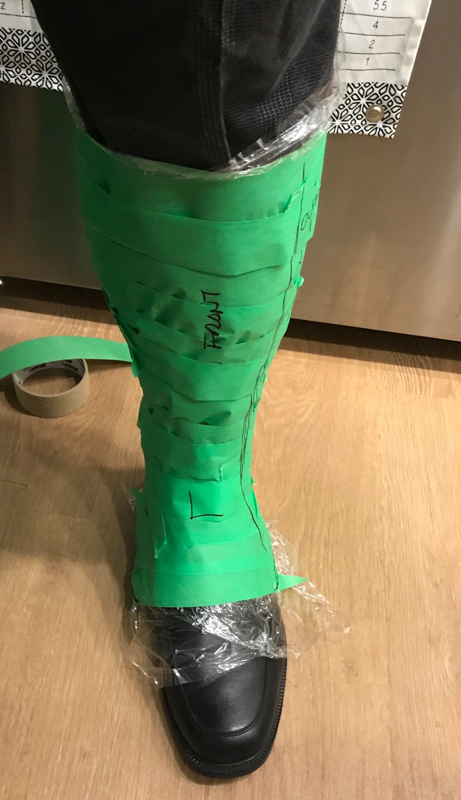
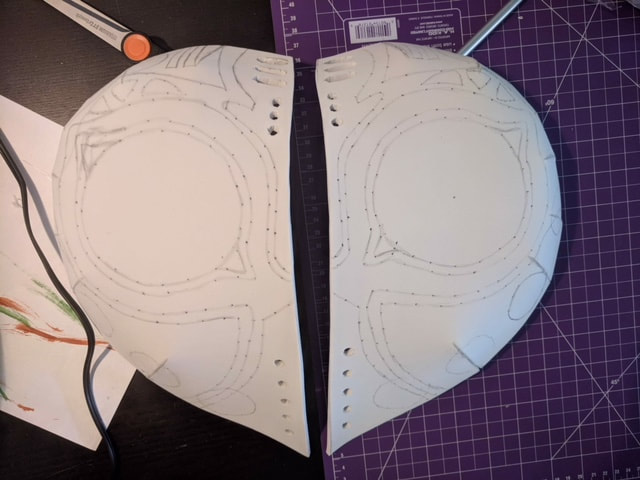
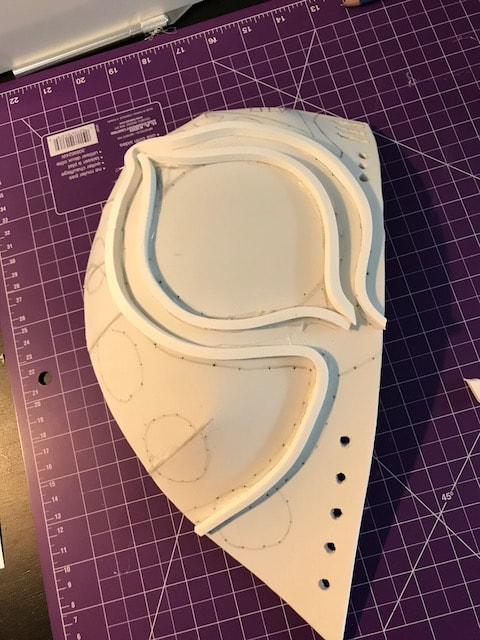
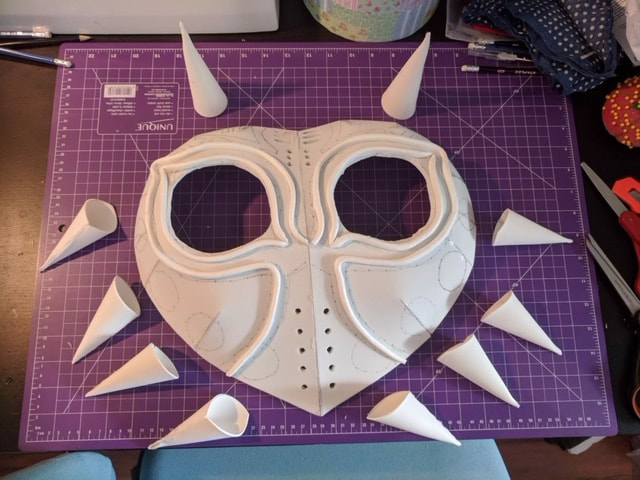
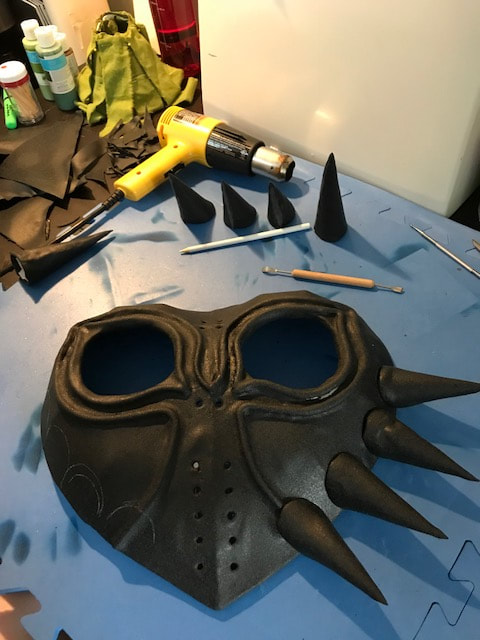
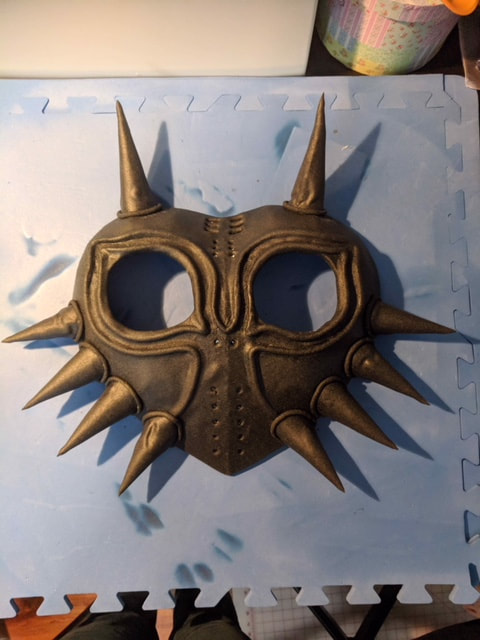
SO I've decided to try something a little different, and I could be completely crazy for it, but I will keep you posted on that outcome :D I've got 3 costumes I want to make, one has been waiting for about 4 years, one has been waiting for 2 years and the last one has been my obsession over the last couple of days. So here is the plan.... I'm going to work on all of them, at the SAME TIME. Crazy right? I figure by working on all of them, I can do a piece at a time with whatever materials and patterns I already have, then when I need to pick up more materials or patterns, I'm not sitting around idle waiting to start the next piece. It might make me busier? Or it might just keep me steady? We shall see. Wish me luck! This is going to be shorter blog this week, but I wanted to share some of my work in progress on my Journey cosplay! As I may have mentioned before, this is the first time I am following a tutorial for a cosplay, and I will definitely say that so far it's been interesting. It's a great tutorial, nice and clear, but there have been numerous modifications that I've had to make in order to get everything the right size. Lots of trial and error, but I will note, it says right in the tutorial "I'm no professional drafter...I'd suggest mocking it up on scrap fabric and adjusting to your discretion" If you want to try the tutorial for yourself, I downloaded the files here: http://venturecosplay.com/tutorials/how-to-make-a-journey-costume/ The original tutorial is created by Blackkrogoth, you can find her on DeviantArt and Tumblr. And now onto some progress shots! With only a few weeks left to go, I'm pretty happy with my progress so far. Of course I would like to be farther along, and I know there is still quite a bit of work to go BUT I won't have to deal with night before crunch time, which is great! Here's how it is looking so far! Enjoy :) 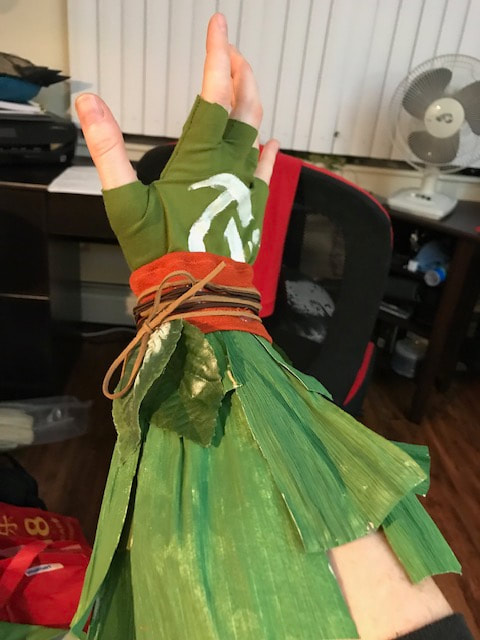 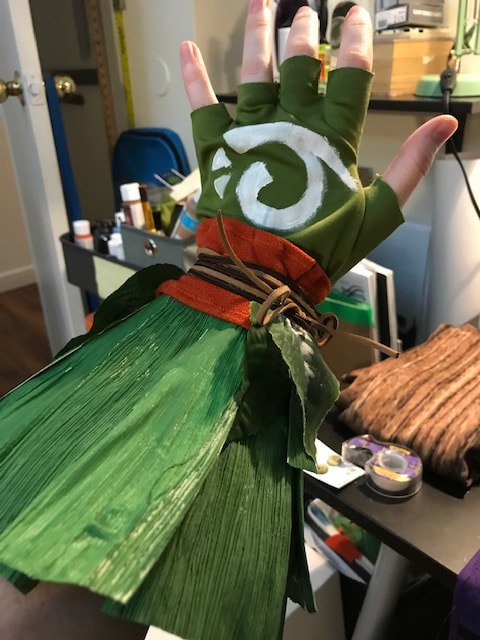      This was by far the most difficult thing and the most exciting thing I have ever made for a cosplay!! My incredible friend Kayla came over and taught me how to do proper foam work and use Worbla for the first time! We spent 8 hours just building the mask, and not to brag, but it looks FREAKING AWESOME! We started with a template that I had found online from www.gyakuyoga.com/. He has some great tutorials and outlines, and this made everything so much simpler! We traced out the template onto the craft foam, then very carefully cut it out and drew on the details. Kayla expertly hot glued the seams together and then covered them in E6000 to make the mask round while I cut out all the horns. Next we cut out strips of craft foam for the 3D detail, glued them on using hot glue. Kayla sanded them down with her dremel tool making them nice and round. Next came the hard part. Worbla. Kayla and I both heated the worbla and wrapped it around all the horns first. Then she sanded down the seams to make them smooth. Next was the large sheet to cover the whole mask. We heated it quadrant by quadrant, stretching it out, smoothing it, and repeat. Finally finishing it up with sculpting the details. Next up will be adding in some wood grain and painting it. Super happy how this turned out! Please check out Kayla's incredible cosplay : www.facebook.com/9FlameCosplay/ Just a small in progress update. This is my first time making boot covers and I'm actually pretty happy how they are turning out :) 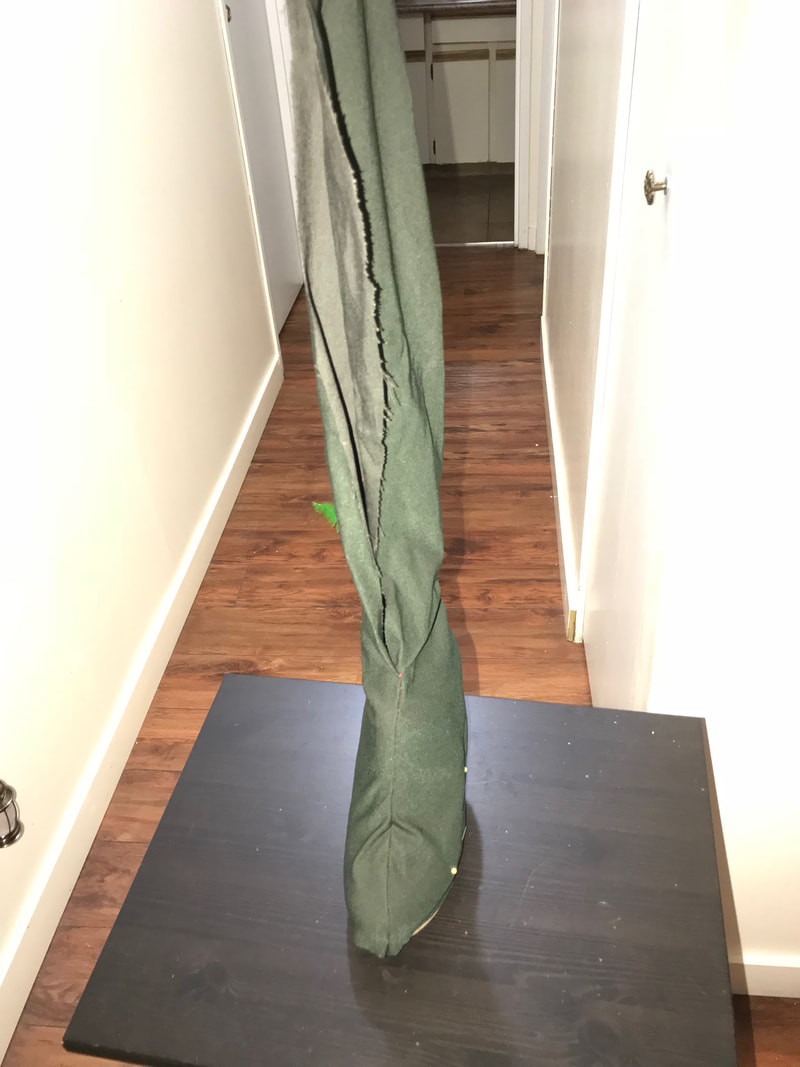  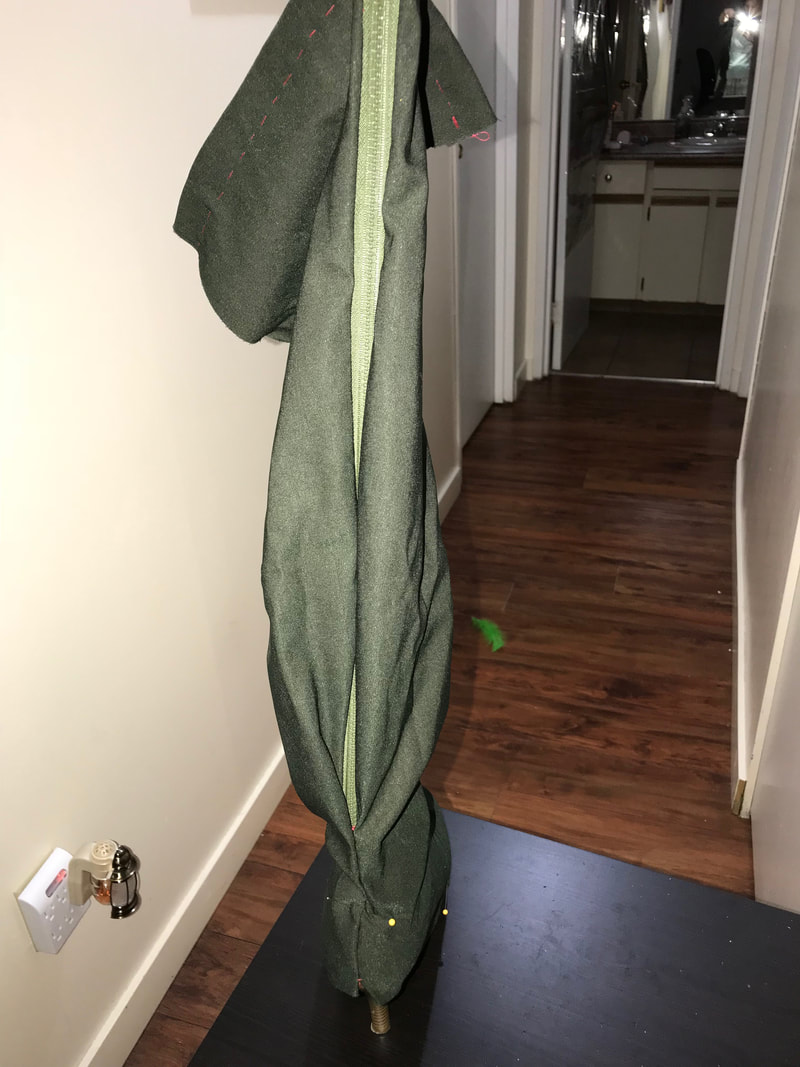 |
Archives
April 2020
Categories
All
|

 RSS Feed
