|
Whether you are new to cosplay or a seasoned cosplayer you'll definitely have you preference of where your costumes come from. So is it a better idea to buy a costume? Or is it better to make one?
I personally feel that taking the time to make your costume makes the whole cosplay experience that much more fun, but you might find you get more enjoyment from buying a costume. Here are some pros and cons to consider when buying or making your costume. Buying a costume: - Price Buying a costume can be super pricy. Depending on the character you want you could be spending upwards of a couple hundred dollars. - Quality Even if you do pay a lot for your costume, the quality may not be that great. I have found that most pre-made costumes are put together with cheap fabric and thread in order to keep manufacturing costs down, but they make money by hiking up the purchase price. So your costume may not last very long. - Fit Bag costumes are a one size fits all kind of deal, so it's never going to look as good on you, as it does in the photo. If you have the skills and are able to alter the costume to fit you, then you'll get that photo ready look you want. - Detail Bagged costumes and pre-made costumes don't usually have a lot of detail to them, or the details will be printed onto the fabric so you lose out on texture and that 3D effect. Making a costume: - Price While making a costume can be just as expensive as buying a costume, you can make things on a budget. Some cosplayers are able to find all the materials they need right out of a dollar store. Finding sales on craft supplies and fabrics definitely can help you save a few pennies on your costume. - Quality You are in control of the quality, so this way you'll know if your costume is made to last a long time or if it's meant only for one day. - Fit The costume is made specifically to fit you, so you'll always have that photo ready look! You'll also be more comfortable for long periods of time. - Detail You can make your costume as detailed or as simple as you want. Overall, you have a lot more control over how your costume looks and feels. - Time intensive If you're not a full time costume maker, making your own costume can be very time intensive. I've had a few costumes that I've worked on every night for close to a year just to get them done. - Learning curve Making your own costumes also means that there will be skills you need to learn! Whether it be sewing techniques or how to use foam properly, there is always something to learn. Over all there are good things and bad things about buying and making costumes, so you need to pick what is right for you! And remember, just because you buy a costume, or have someone else make the costume for you doesn't mean you aren't a cosplayer! You're the one representing your fandom and showing your love in the best way you know how!! Now get out there and show 'em what you got!
0 Comments
Cosplay is great for everyone, but can also seem overwhelming when you are just starting out. So...where should you start?
For your first costume, try to pick something that is within your skill level and something you are comfortable with. Don't think "oh I need to learn all new skills if I want to make this", it's absolutely not true. You don't need to know how to sew, or work with foam, or even be super artsy or creative. You've got your concept art, and all you need to do to start is get a few pieces of clothing. Start by going to thrift stores! You can find lots of great things here to incorporate into your cosplay. I especially find that going to Value Village around Halloween is the best time. You can find costumes to re-purpose as well as articles of clothing, shoes and accessories. This is also a good time of year to pick up make-up, wigs and any false nails or prosthetics you might want. Making a costume from scratch can be a lot of work, from sewing to forming foam, painting and heat setting Worbla. Grab a friend who is familiar with the techniques you need help with! Having friends and family members help is a great way to have fun and learn from others. Just because you see a really cool detailed cosplay doesn't mean you should jump right into it as a first project. It's ok to challenge yourself a little, but be sure to pick something that won't overwhelm you when first starting out. If making a costume doesn't really seem like a great idea for you as a first costume, you can also buy one! There is nothing wrong with buying a costume to wear to a convention or party. This is actually a great way to get you into cosplay and get you comfortable and familiar with the community! Halloween is the best time to go to stores to buy costumes, but you can also visit costume specific stores, and there are lots of cosplay costumes available online! Buying costumes can be a little pricy though, so make sure to find something that fits in your budget! Now get out there and have fun! A few weeks ago I had the pleasure of going out for a photoshoot in my Aerith costume! We went to Deer Lake Park in Burnaby at sunset and got some fabulous photos! 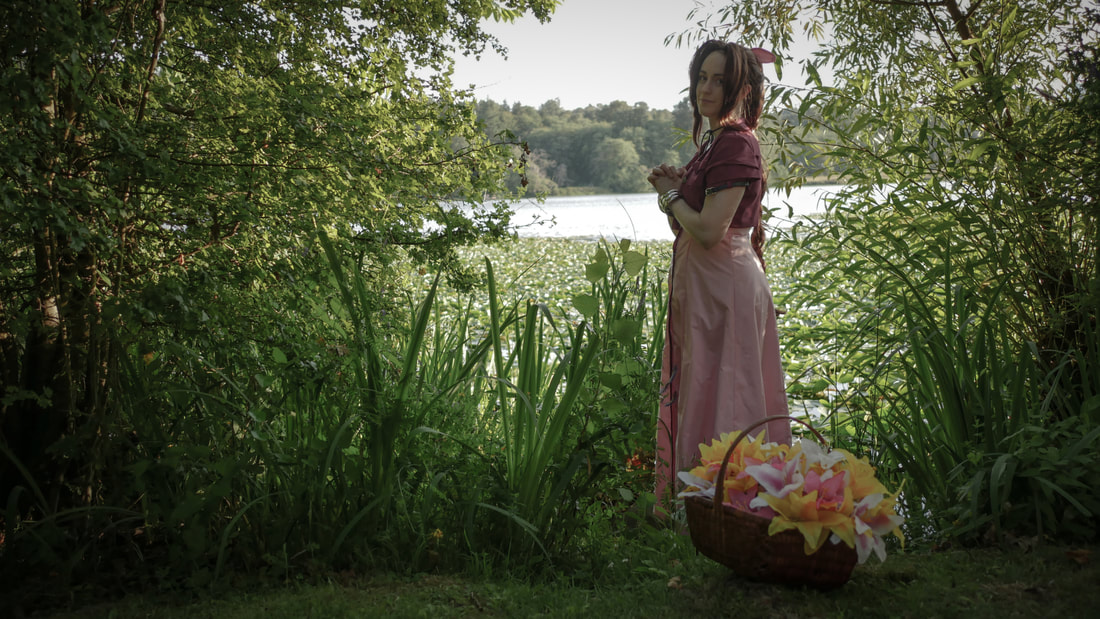 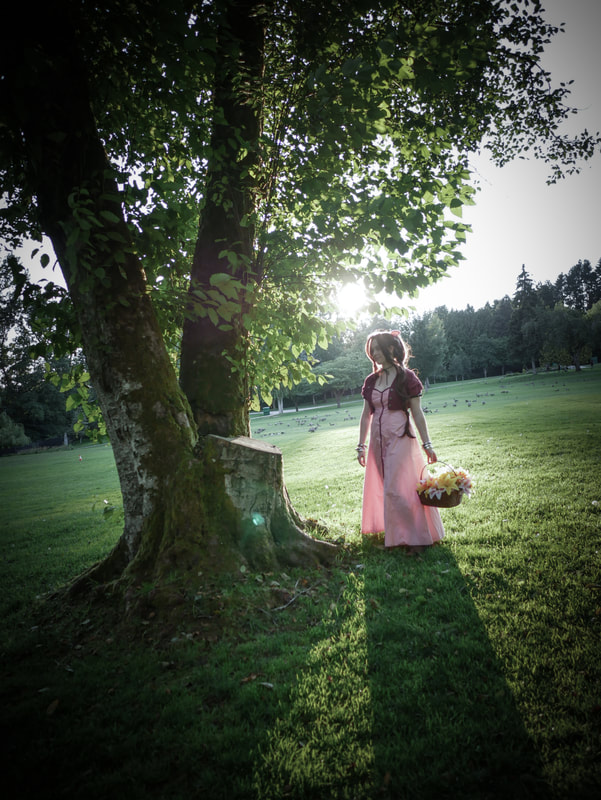 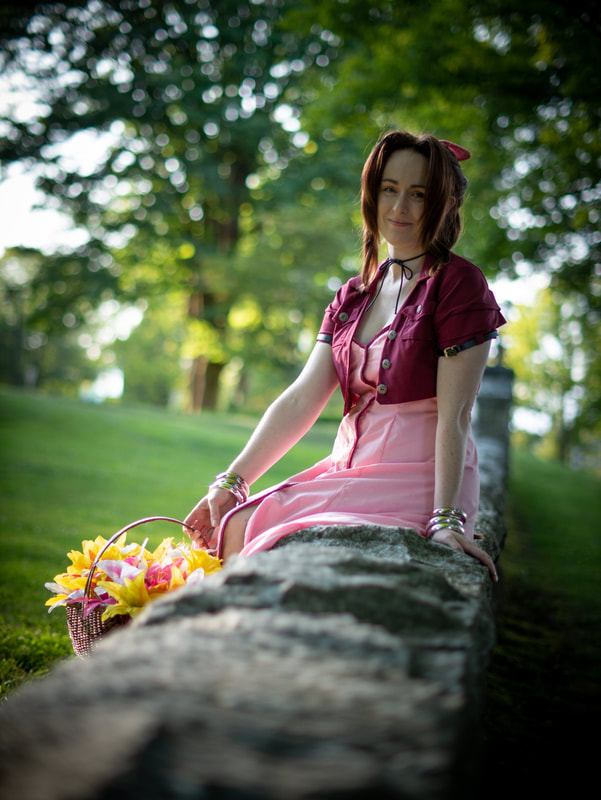 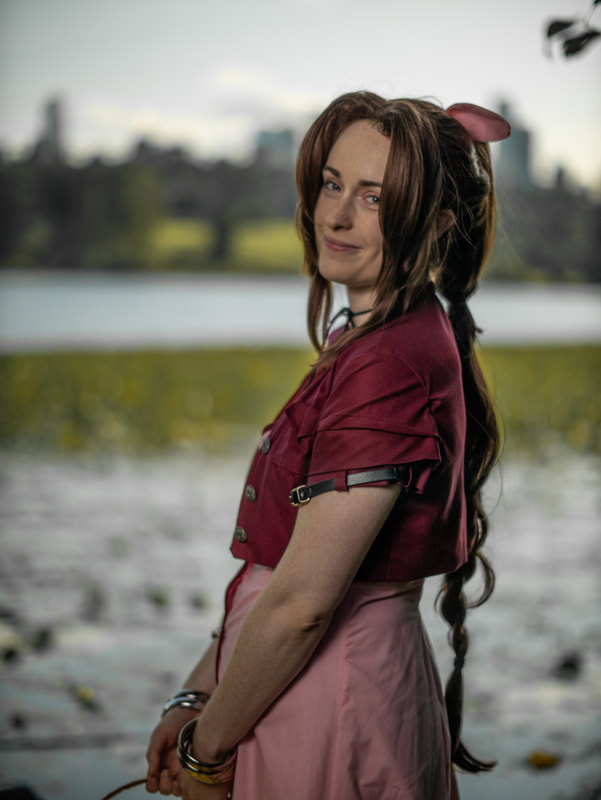  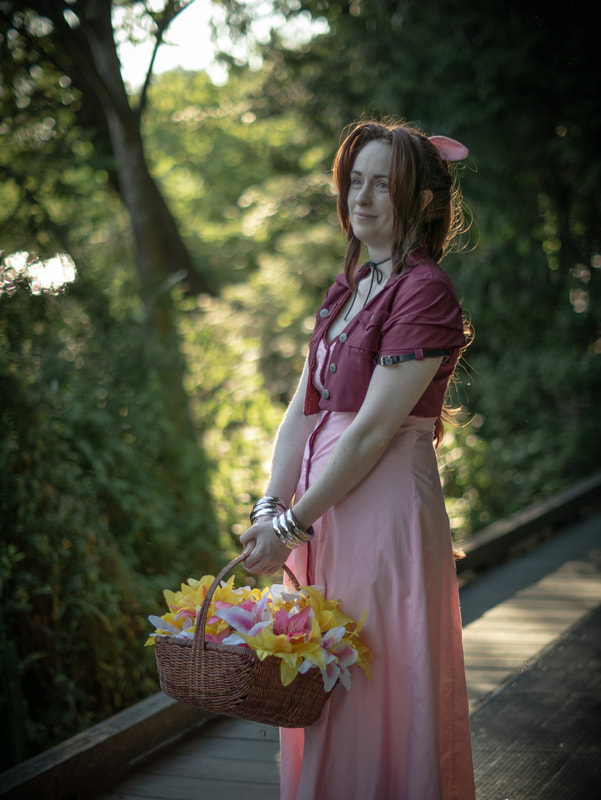 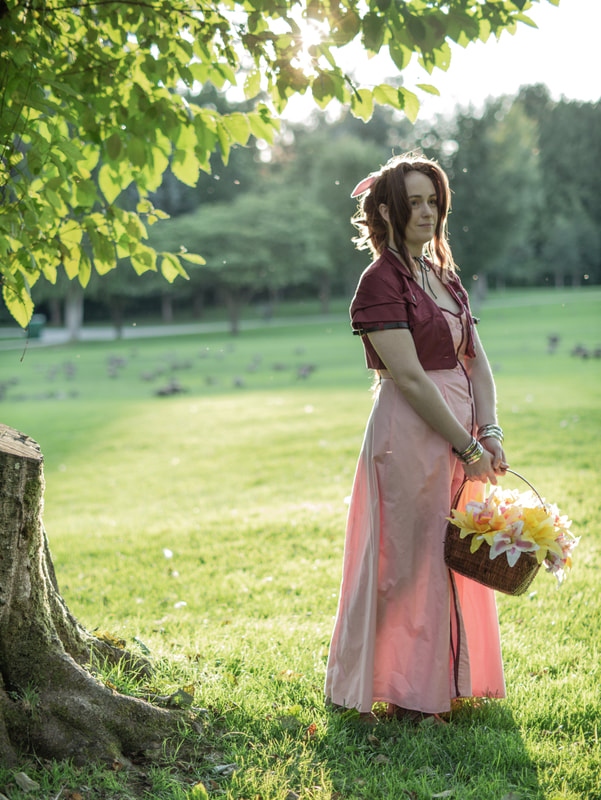 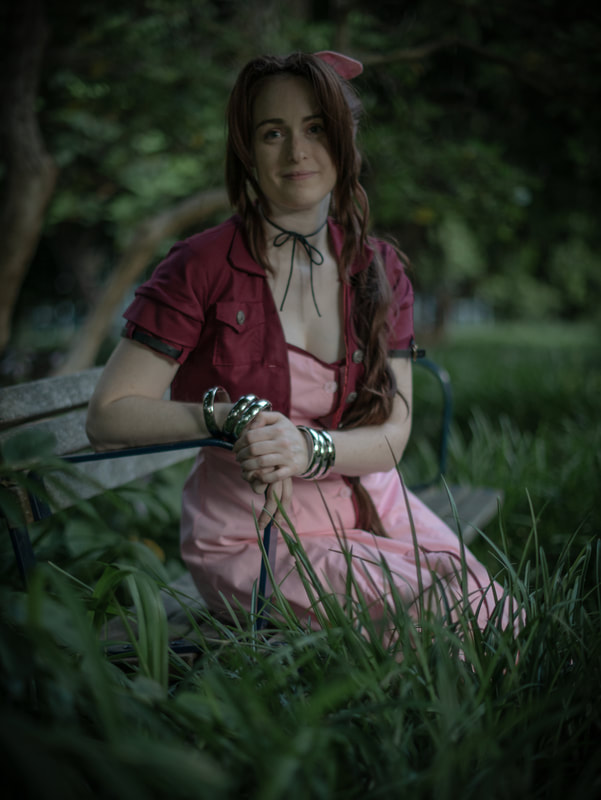  This has got to be one of the best resources I have found if you want to enhance your crafting skills.
They have videos by professionals in sewing, quilting, cooking, knitting, painting etc. The website started out as Craftsy.com and has since migrated to MyBluprint.com. They offer a subscription service for $10 a month and also have a library of videos that you can buy outright to keep forever. These are usually about $50-60. There are benefits to both the subscription and purchasing classes. Classes come with materials. In a lot of cases it is a PDF that covers what is happening in the class, but with the classes for purchase they come with sewing patterns, sometimes fabric or tools etc. I have found this website super useful to upgrade my sewing skills. A few years ago I needed to know how to change the size of a pattern for a commission. The pattern I owned was too small and I needed to up size it. I took a class on grading, and now grade patterns all the time! I'm also currently taking classes in designing my own patterns from scratch! Anyone looking for more knowledge in their craft you should definitely check out this site! UPDATE - My Blueprint has now gone back to being called Craftsy. I'm sure right now you are thinking WOW this is going to be super complicated, but there are lots of ways to make a sewing pattern for your costume without having to know all the proper measurements or any tailoring skills. We will cover how to revise an existing pattern, how to make a simple fitted pattern using tissue paper and tape and we will also touch on how to make a professional pattern.
Revising an existing pattern: If you're comfortable using existing sewing patterns then this could definitely be a good way to make yourself a new pattern. This is how I have been making my Evie Frye jacket! Find a pattern that is similar to the item you want to make. Only using the major pieces of the pattern (back, front, sleeves etc) cut them out of scrap fabric and sew them together as a draft. From here you can draw new lines on your draft for the new seams you want. Cut it all out, trace the new pattern pieces onto paper and add your seam allowances. Make sure to take your new pattern pieces and sew them together as a draft to make sure that your new pattern works! Making patterns from tape: This is one thing I would love to figure out how to do! Making patterns from tape for armour is relatively straight forward, but I've seen some cosplayer's making sewing patterns from tape which completely amazes me! Essentially you need to wrap whichever body part or a shoe in plastic wrap and then cover in masking tape or duct tape (I find masking tape easier to mark and cut), draw your pattern on top to the tape and then cut it off what ever you have wrapped it on (but please be careful!). Once the tape is removed from your arm/leg etc you can cut out the pattern and use this to transfer to foam or fabric. When transferring to fabric make sure to add seam allowances ex 1" to each side you are sewing. This will allow for a little bit of breathing room. But remember, this pattern is fitted to your bare arm or leg or a shoe so there is no wiggle room. You'd have to add more than an inch to each sewing edge if you want it to fit loosely. Making a moulage: A Moulage is a much more complicated route and I wouldn't suggest this for beginners. This is where you take all your body measurements, transfer them to paper and do multiple calculations in order to make a fitted pattern. You can tutorials on this online on My Bluprint, or through professional sewing courses. Make patterns from existing clothing: You can make patterns from your existing clothing without even taking the clothes apart. You can trace out pieces by folding the clothing piece you want along the seam lines. Here is a great tutorial by Professor Pincushion on how to do this! I hope you found this overview helpful! In the future I can do full tutorials on how to make your own patterns! Let me know in the comments section if you would find that helpful! Here is just a simple overview of how to best measure yourself for a sewing pattern, or to make your own!
Neck: Wrap the measuring tape around your neck at the base. It shouldn't be super tight around your neck or too loose, but should sit comfortably around your neck. Measure to the small divot between your collar bones to get your neck circumference. This is useful when measuring for dress shirts and collars. Bust: Wrap the measuring tape around the centre of your chest. Make sure the measuring tape stays level all the way around. If you are measuring for a pattern this method will work just fine. If you are measuring for a moulage, or a base pattern that you are designing, make sure to press the measuring tape to your sternum in between the breasts. Waist: Wrap the measuring tape around your mid section 1/4" above the belly button. Make sure that your measuring tape is level all the way around. To make this easier, you can tie a 1/4" elastic around your waist 1/4" above the belly button. The measuring tape will relax into your natural waistline. If you do the elastic method overtop of a tank top or tight fitting shirt, be sure to adjust as necessary as the elastic will inch upwards. Hips: If you are measuring your hips for an existing sewing pattern, you want to wrap the measuring tape around the widest section of your hip area, usually the fullest part of your bum. If you are measuring to make a pattern you will want to measure both your high hip and low hip. Your high hip is 4 1/2" below your waist line. The low hip is 8 1/2" below your waist line. Armhole: Wrap the measuring tape around the top of your arm directly through the centre of the arm pit. |
Archives
April 2020
Categories
All
|
 RSS Feed
