|
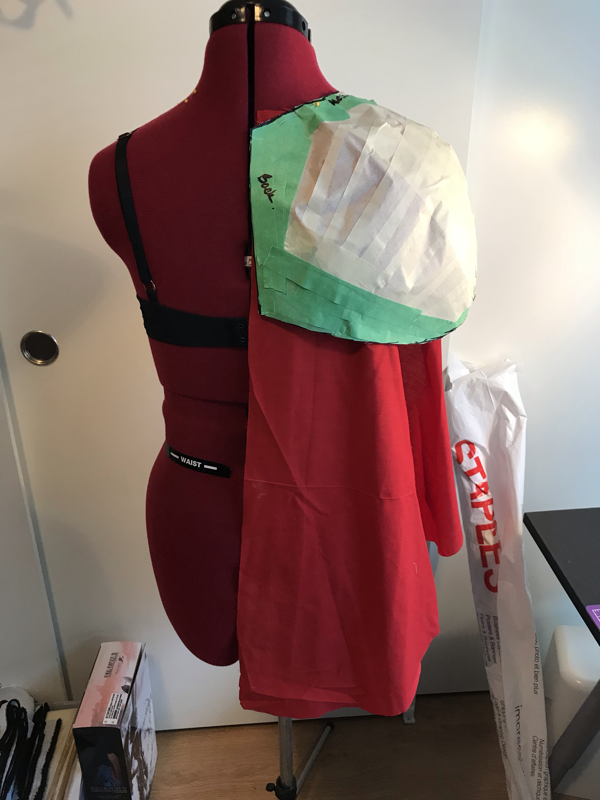
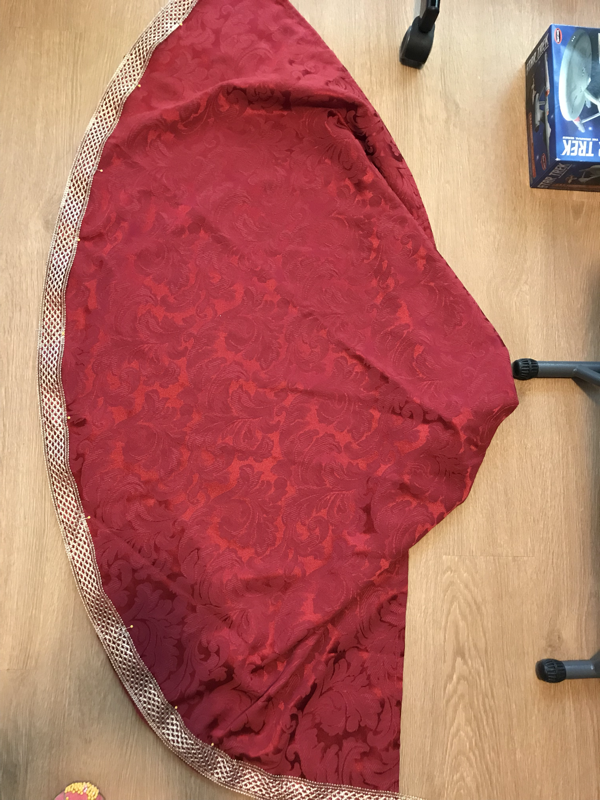
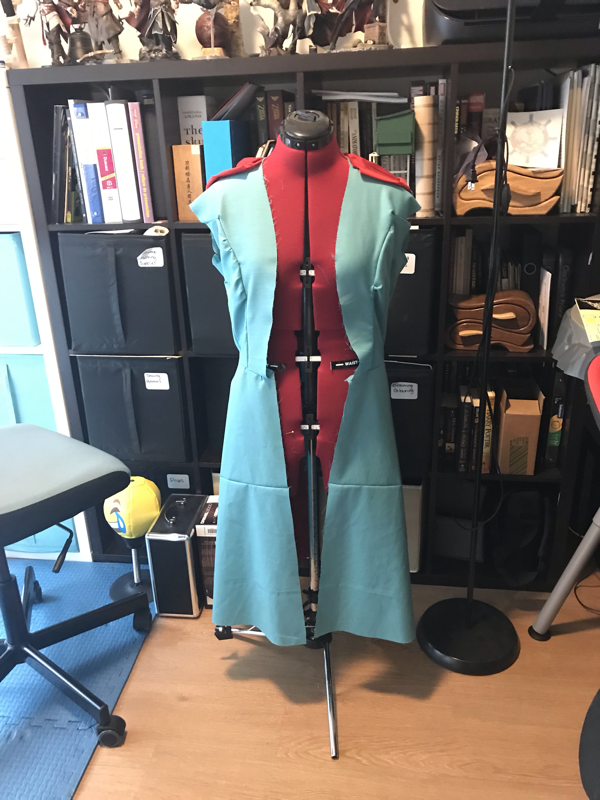
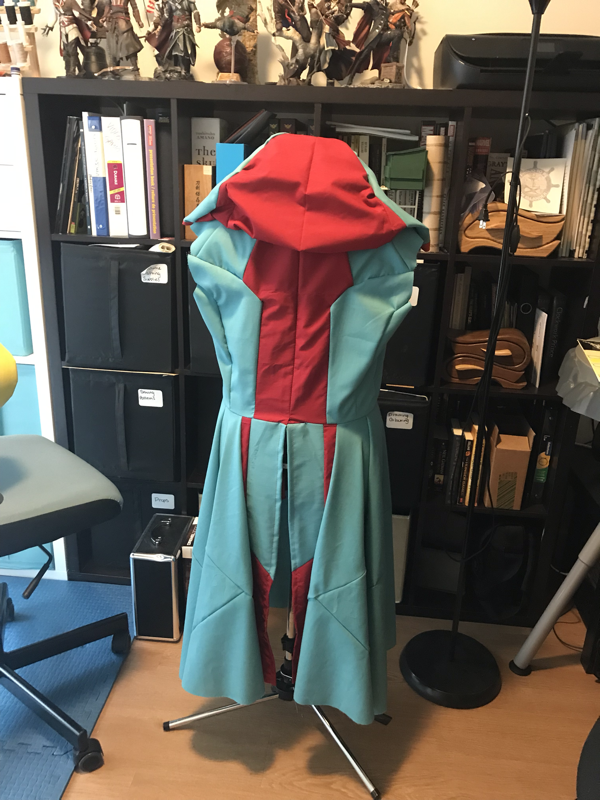
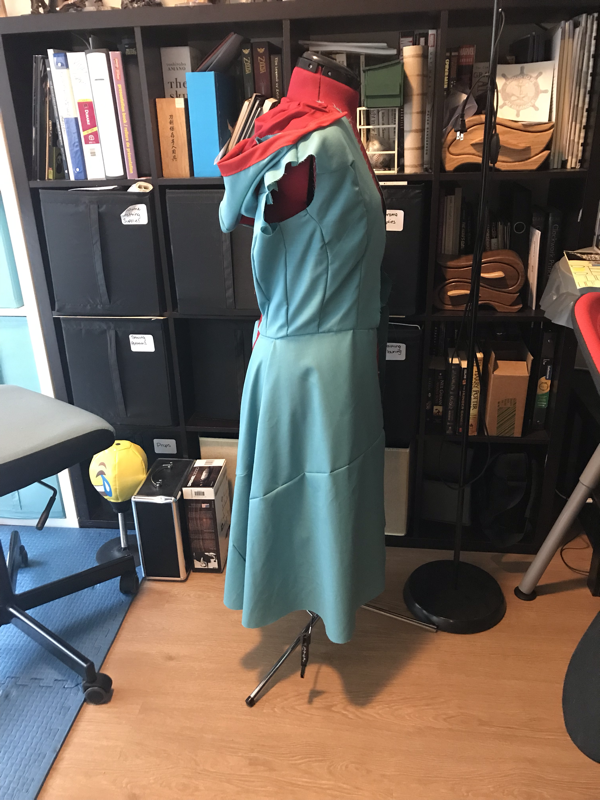
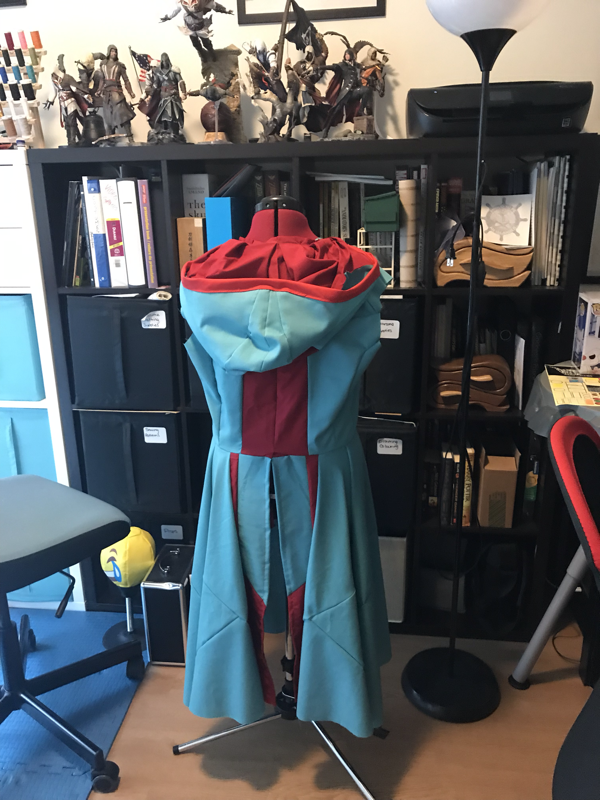
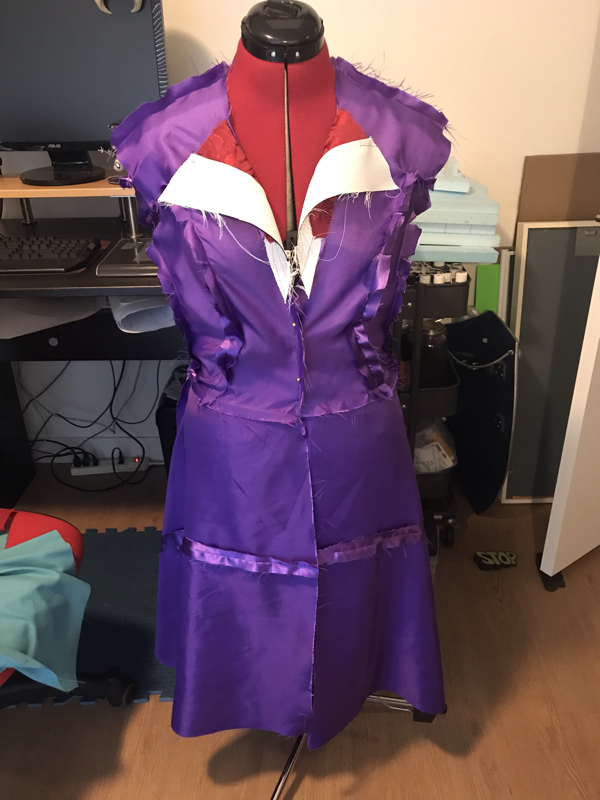
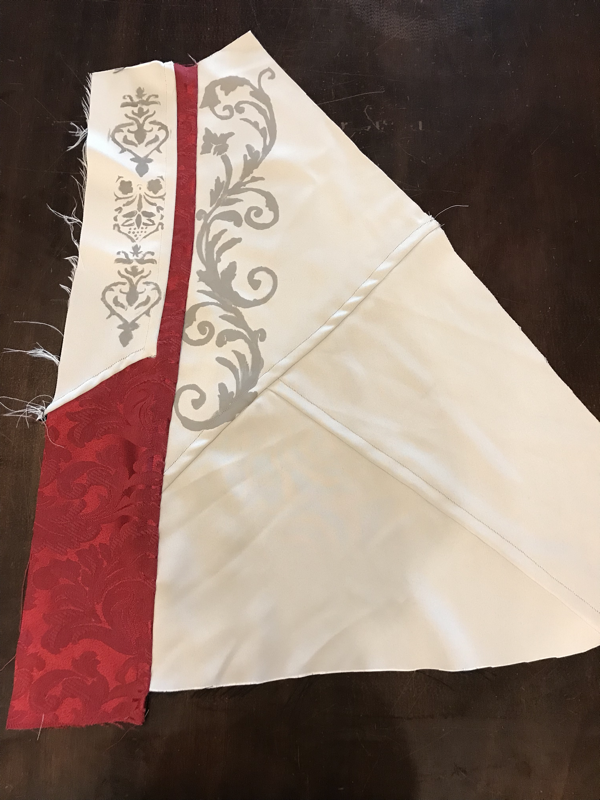
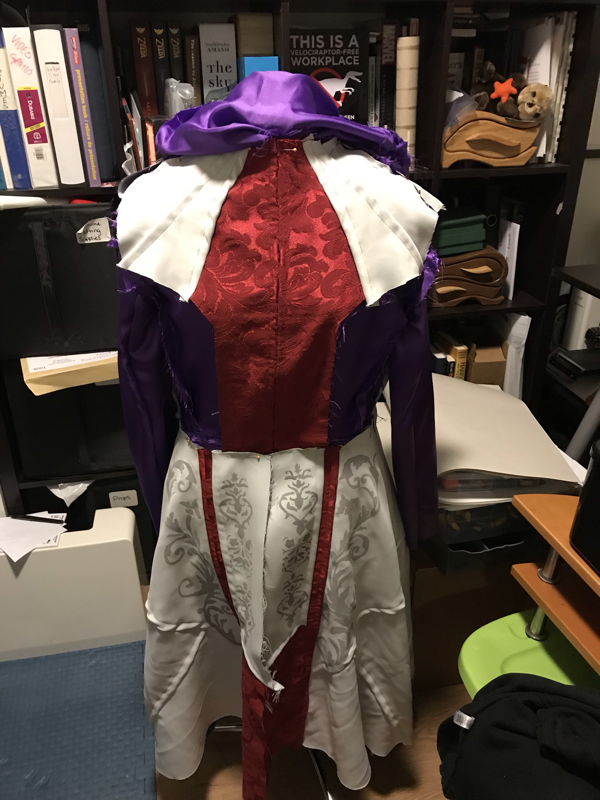
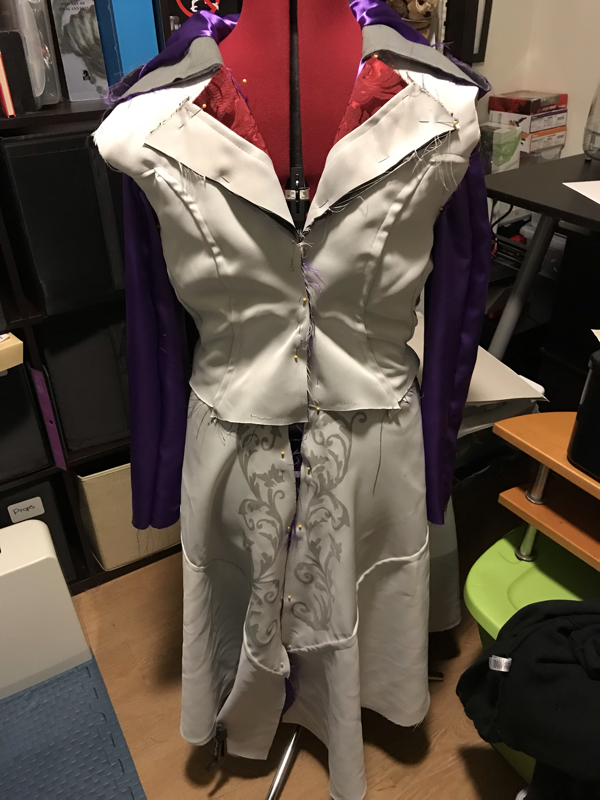
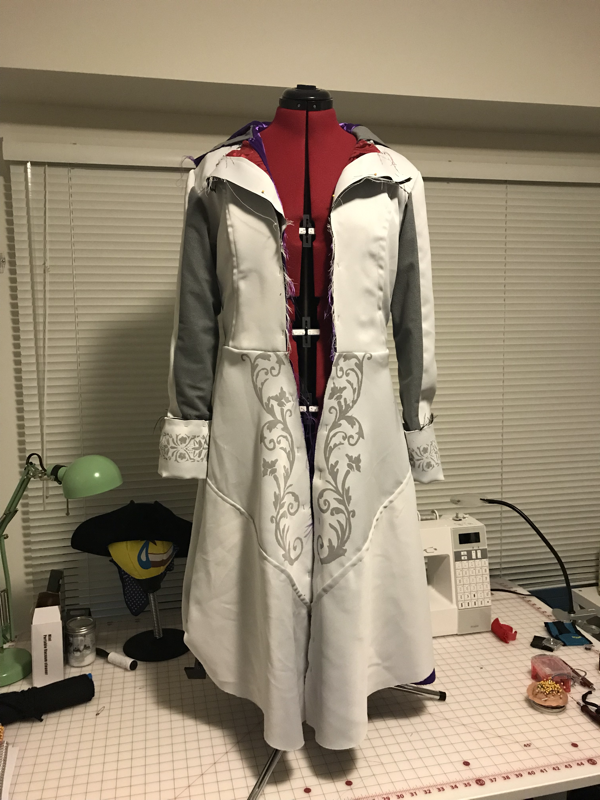
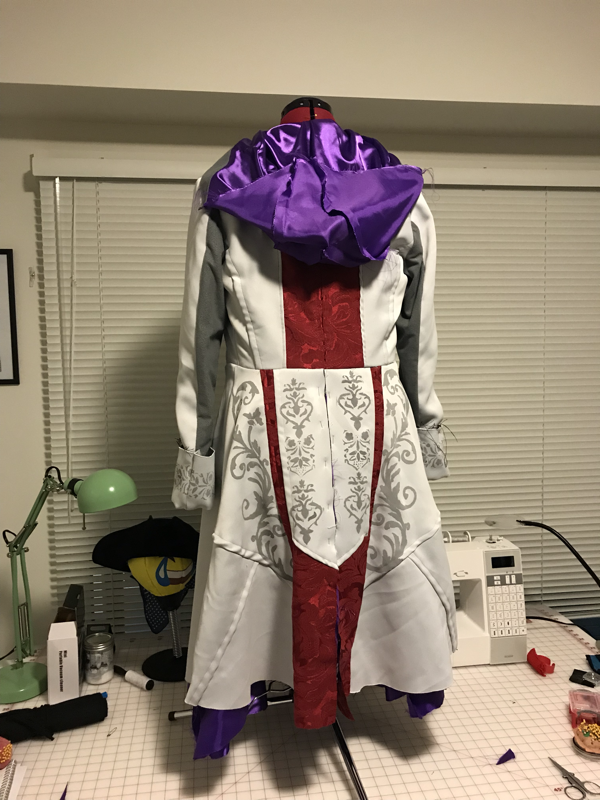
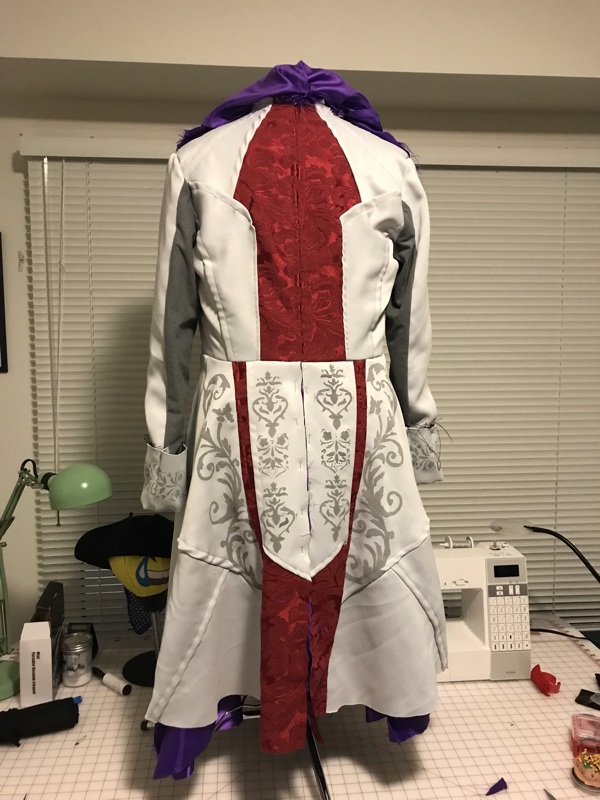
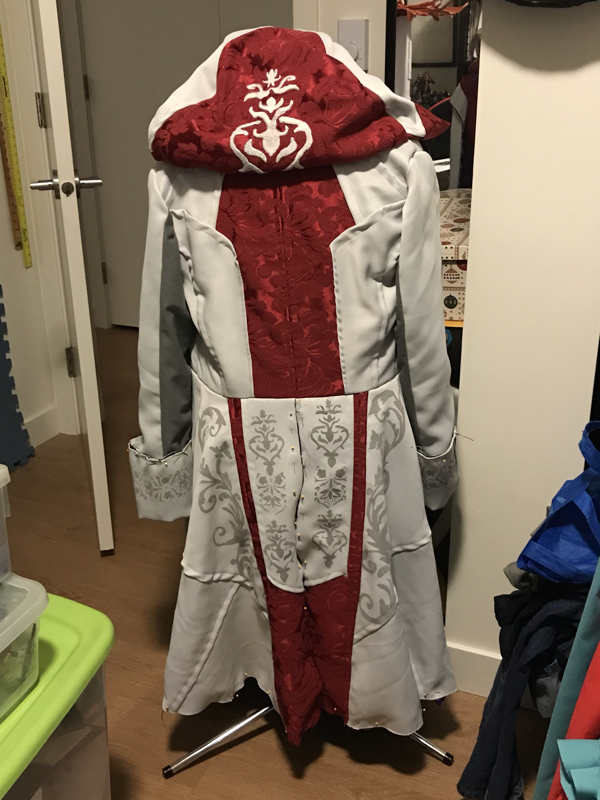
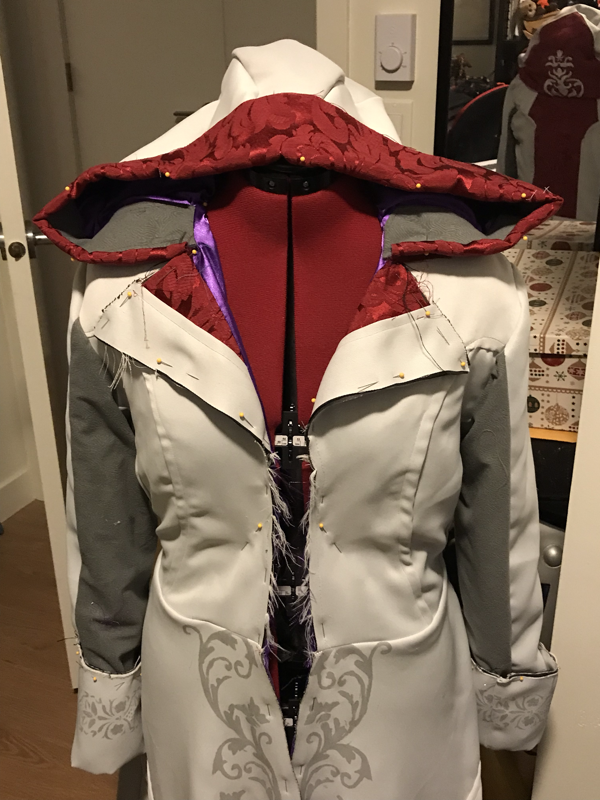
Here is my first in depth look at progress on my Evie Frye costume. This one is a beast! I've had this costume planned for a few years and collected material along the way, but it wasn't until now that I felt I had the knowledge and skills to take this on. So far I have the jacket almost completed, and I have the pants almost completed. I have mocked up the shoulder pauldron and made the cape, which has been handed off to a friend for embroidery work. The fabric is all cut out for the blouse and the vest, now they just need sizing and sewing. The belt buckles are painted and need weathering, as well as I will attach them to the belts. Finally I need to stitch up the sides of the cummerbund and add some velcro to the back to attach it nice and neat. So rather than discussing what has to get done, let's talk about what has been done. This jacket has been a monster to work on. I started by picking out a pattern that I felt was similar to what I needed for the completed design. I made a muslin of the original pattern, then took a marker to the fabric, drawing out my new pattern pieces. I cut up that mock up, and made a second mock up with the new pattern pieces making sure everything fit together correctly. Even with the draft jacket I still ended up making sizing changes to the final jacket and adjusting how the skirt falls, moving seams around and also adjusting the lining to fit the outer jacket. This has been an intense learning experience, but I'm happy how it has turned out so far. My final challenge will be to figure out how to keep the pauldron and cape on my shoulder, preferably without having to attach and snaps or velcro to the underside and the jacket shoulder. I'm aiming to have Evie completed for October 27th 2019 to debut her at Assassin's Creed Symphony! 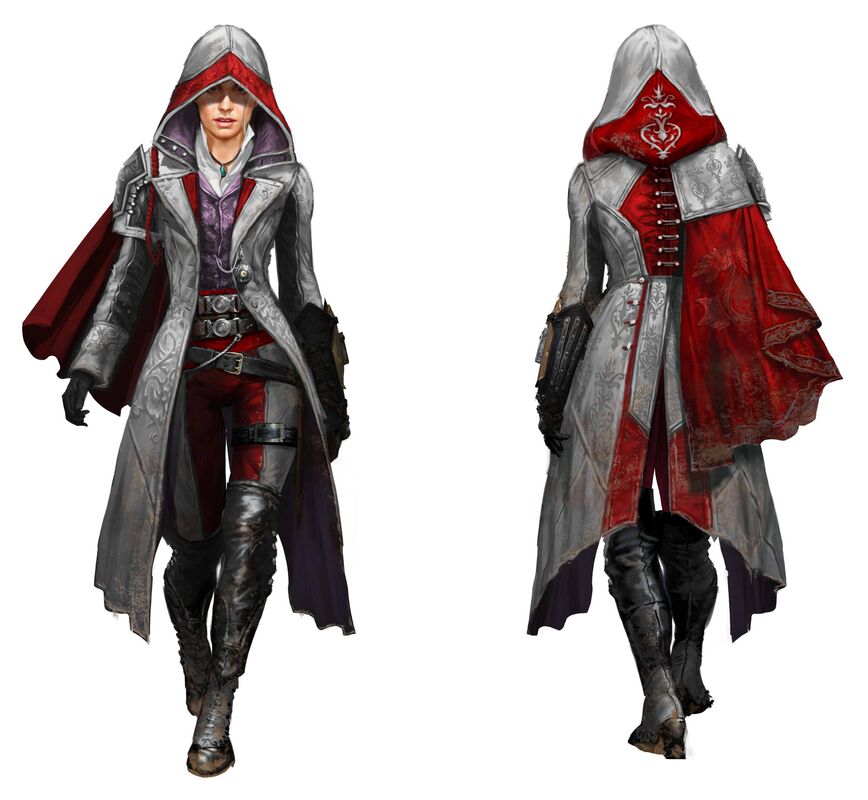 Concept art of Evie Frye
0 Comments
Whether this is your first cosplay, or your millionth cosplay, chances are you've had to style a wig or will need to style one in the near future.
Wigs can be challenging, I know this is personally my least favourite thing to do because it's not something I've had a lot of experience with. But by following tutorials and with lots of practice I find ways to get the job done! I wanted to share with you the few things that I have learned about wig styling and also give you a few resources that you should definitely check out! 1. Should I use product on my wig? - Absolutely! You will need to use products on your wig in order to get it to hold it's shape and also to detangle it. You won't need to use a lot of products like moose, or volumizing spray or anything like that, but you will need a good strong hairspray and a good detangler. I would recommend getting yourself a can of Got2B Glued and also Mane and Tail detangler. 2. How do I get my wig to "defy gravity"? - In order to make those awesome spikes or gravity defying bangs, you will need strong hair spray, a blow dryer, a flat iron or curling iron, a comb and a lot of patience. You will need to do a lot of back combing on the wig in order to get the fibres to bunch at the bottom and make a strong base. Don't be afraid to use a lot of hairspray either, but also try not to cake it on. If you spray too much in one area, it just starts to make the wig look like plastic. 3. How do I get my ponytail to look right? - If the wig you are using isn't built for a ponytail, as many aren't, you may either need to make your ponytail lower on the wig, or you will need to sew more wefts into the wig in order to cover up the wig cap. You can check out this great Arda Wigs tutorial here. 4. My wig is too big help! - If you are buying a bagged wig, chances are you won't be able to choose the size of wig you are buying, you just have to hope it fits. If you need to make the wig a bit smaller to fit your head, you can trim some of the elastic out of the wig cap and stitch the gap together. But this is definitely something you should do with a tutorial, don't just wing it. Last thing you want is to cut the wig and not be able to fix it! This is the tutorial I would recommend for resizing your wig. You can also size a wig larger if needed, but again, it's best to follow a tutorial. 5. Heat on synthetic fibres? - Synthetic fibre loves heat! But be careful how much heat you use! If you use a heating iron or blow dryer on medium to low setting, the fibres of your wig will become more relaxed and easier to handle and style. DO NOT use a heat gun! I tried this years ago on a wig, and managed to melt the front of it together. Needless to say, it's a bad idea. So stick to hair dryers, curling irons, flat irons and low to medium heat! 6. My wig isn't the right colour, can I dye it? - You can definitely dye a wig! There are a few ways to do it as well. You can use markers like a Sharpie, or you can buy fabric dyes such as Rit. Each of these have different methods to get the colour you want and there are lots of tutorials online to show you how! 7. How do I wash my wig? - This is a tricky one. Cosplay and costume wigs are not made with real human hair, and so if you wash them with regular shampoo, the fibres will deteriorate quickly, or become frizzy, or lose their colour and sheen. It's best to use a synthetic fibre shampoo to keep your wig in good quality for a long time. The only problem with synthetic fibre shampoos are they are either expensive or hard to find. This isn't the typical product you will find at just any drug store or grocery store. You'll need to go to a wig shop or somewhere that sells wefts and wig products most likely. As an alternative, you can use a very mild detergent or soap on your wig. You can use products like sunlight laundry detergent, or very mild shampoos such as suave. I personally have not tried the sunlight or the suave, but I have seen tutorials and blogs that do use these products. Arda Wigs & Kinpatsu Cosplay are my two favourite go-to's when it comes to styling wigs. They have fabulous tutorials, step by step instructions and Kinpatsu's book on wig styling is a must have for any cosplayer!! Good luck on your hair styling endeavours! Years ago I found this awesome tutorial for how to make a small compact cosplay first aid kit that I can fit in a pocket, and I never leave the house without it! Here's what you need to do:
Get a small plastic container like a pill container. inside put: - a bobbin of thread - small foldable scissors - a button - a piece of velcro - super glue - sewing needle - a couple sewing pins - a few safety pins This covers the basics if you have any issues with your costume while you are out and about. I highly recommend making one of these to take with you, I know it's saved me a few times. Here is how I started out in Cosplay... Soi Fong 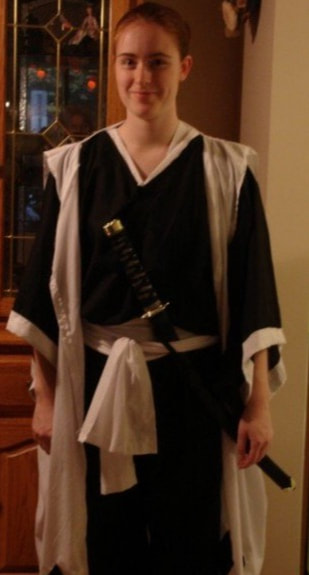 This was the first costume I had ever made. I was still in Highschool and wanted something cool to wear to the local anime convention. At the time I was really into Bleach and wanted to dress up as one of the characters. Now my favourite characters in the anime were all guys and I didn't really have any female characters that I thought were super cool. I chose Soi Fong because she was one of the few Captains in the Soul Society with some kick ass moves and an awesome Zanpakuto (sword). So I thought, why not? I knew nothing about sewing costumes, using sewing patterns, foam work...literally I knew nothing. So I got my Mom's help with picking out some fabric, folding it over my head and marking where I should cut a hole for my head, and pinned where the sleeves should go. Even the pants, I just cut out rectangles and thought...that looks right. Sewed them together, added a drawstring and voila! Pants! For a first time costume I was pretty pleased with myself. It all fit, it was comfortable and it looked the character, overall a win. I even made her zanpakuto in it's final form which was painted craft foam and sat nicely on my hand. I tried to style a wig, but it turned out pretty horrible so I opted not to wear it...ever. If I could go back and do this all again, I would use a proper pattern and finish my edges nicely. Link  This was the costume I wanted to make my whole life! Legend of Zelda has always been my favourite game series and I so badly wanted to dress up as Link. Again at this point I knew nothing about using sewing patterns, so I bought my fabric, pinned the edges around my arms and side, and cut out a head hole. I added small fabric details and such which were all hand sewn on, because I drove my sewing machine like a Ferrari...way to fast...and it would eat fabric. I bought the pants, shirt and boots to match as best as possible, bought a cheap wig and sewed some brown fabric to brown 99 cent gloves. The first sword I had I made with my dad out of wood, and painted it myself. The one in the picture I bought at a convention along with the sword. This was my favourite costume and got me into cosplay. There are so many things I would do differently if I ever re-do this one, like using sewing patterns, making each piece rather than buying and definitely get a better wig. Hexidecimal 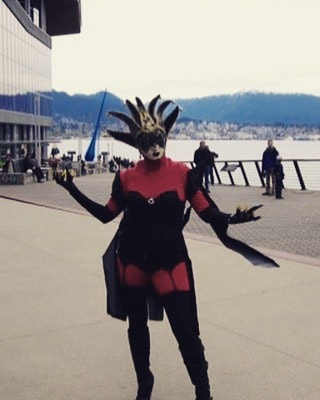 Growing up ReBoot was the cartoon that brought the whole family together. We would sit together in the living room, have dinner and turn it on. It inspired me to get into video games and 3D animation which later in life would lead to my career in Visual Effects. Hexidecimal was always by far my favourite character. I loved how crazy and maniacal she was, but at the same time super sweet, misunderstood and wanting to do the right thing (even if she didn't know how). I found this amazing mask at a Halloween store that looked similar to her and thought, well now I have to officially make her outfit :) I bought everything from dollar stores, halloween stores and thrift stores and pieced it all together. The only thing I made here was the red cowel to cover my head and neck. This one is definitely on my do it again list, and this time it will be 100% from scratch including the mask Zelda 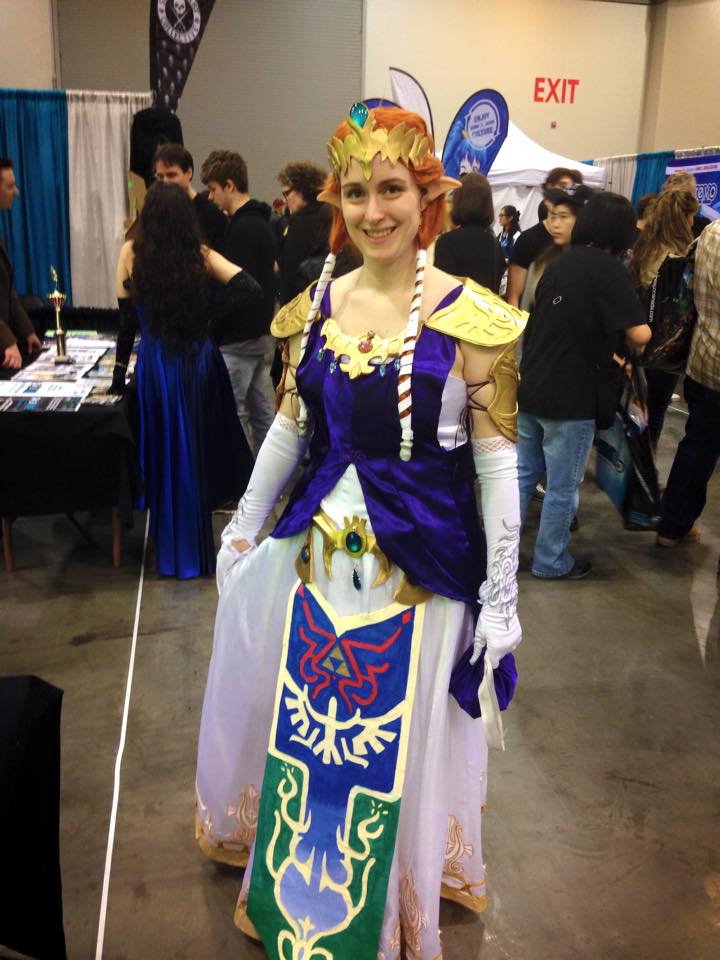 This was the first real challenge I ever faced in cosplay. This costume had so many firsts. The first time I used sewing patterns, the first time I painted fabric, made foam armor, made my own sewing pattern, used appliques. I had zero real sewing experience and so I picked out a sewing pattern for the dress and started cutting out the pieces, adding in extra seam allowance, and piecing them together the way I thought they should go rather than they way they were meant to go. I ended up getting help from the costume designer on the show I was working on at the time. She taught me how to read sewing patterns and had me go home every night and work on the dress until I got each bit correct. It was a lot of fun and I'm super grateful for it today! I was really happy how this costume turned out and how easy it was to wear around a convention. If I were to make this one again I would use worbla rather than foam for the armour, use actual fabric paint on the talberd, and make a new vest with a proper sewing pattern. Aerith 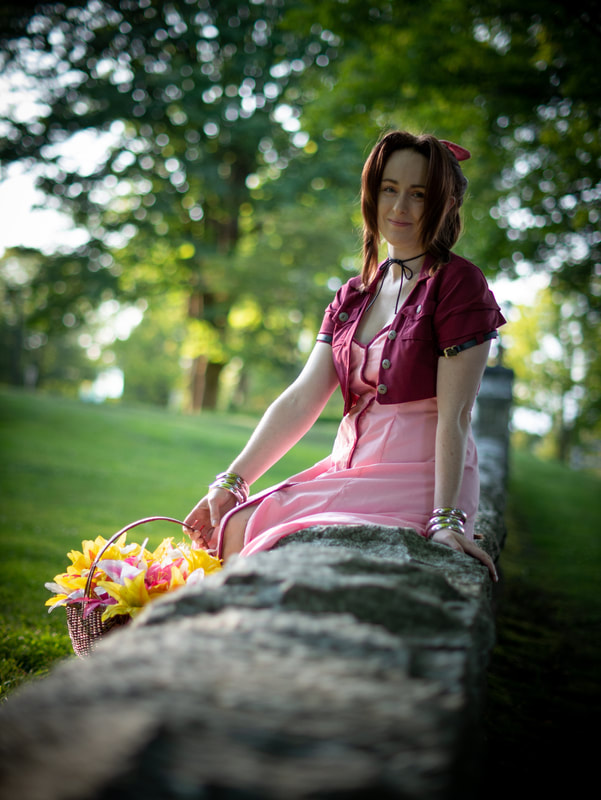 When I started working on Aerith I finally had a bit of sewing instruction under my belt. I was able to follow the sewing patterns I picked out and even alter the jacket a bit to add a collar, pockets and belts on the sleeves. The wig was the hardest part for me, as it was the first time I had to style a wig. I knew I needed heat and lots of hairspray, but I had no idea that there was such a thing as too much heat. This led to me melting the front of the wig.
Since the debut of this costume I have had to style two more wigs for it. Both didn't turn out the way I wanted them to either being super heavy or not fitting right. I love how comfortable this costume is and how easy it is to look after. If I were to make it again I would order a pre-styled wig and make the bracelets from foam. |
Archives
April 2020
Categories
All
|
 RSS Feed
