Traveller - Journey
Why I chose to make this costume:
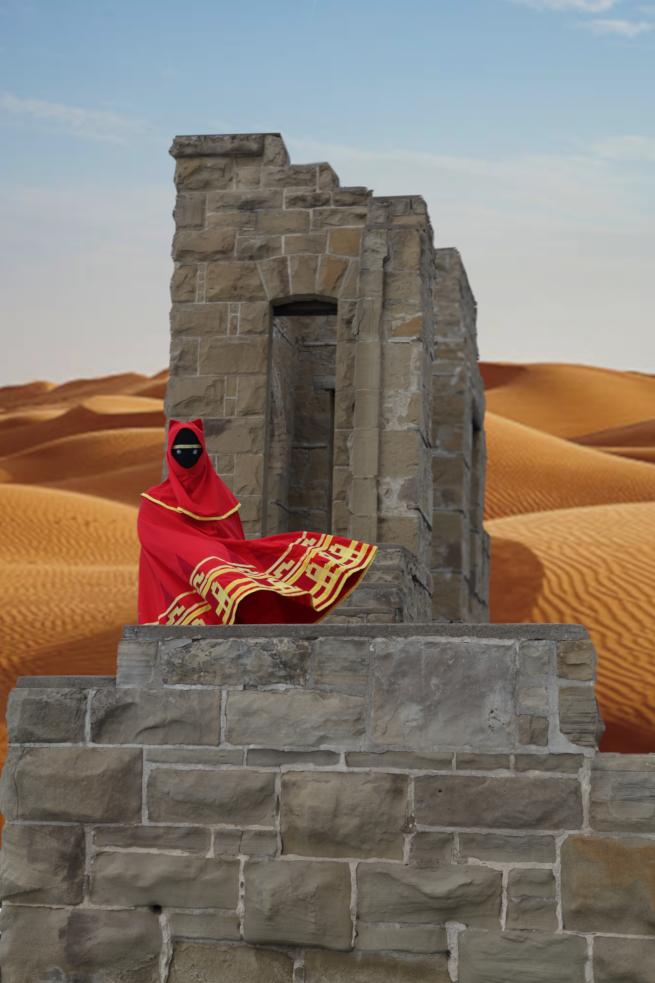
I have always loved Journey. I've played through the game multiple times always finding new things, I've listened to the soundtrack a million times and thought, this could be a cool costume to make. Not only a cool costume, but a simple costume! Since I was attending Fan Expo 2018 in October, I thought well I'll have to make another costume to take with me to Calgary Expo 2019 which was only a few months after. Something that won't take me a lot of time to make, and also be easy to pack. This costume fit the bill.
How I made this costume:
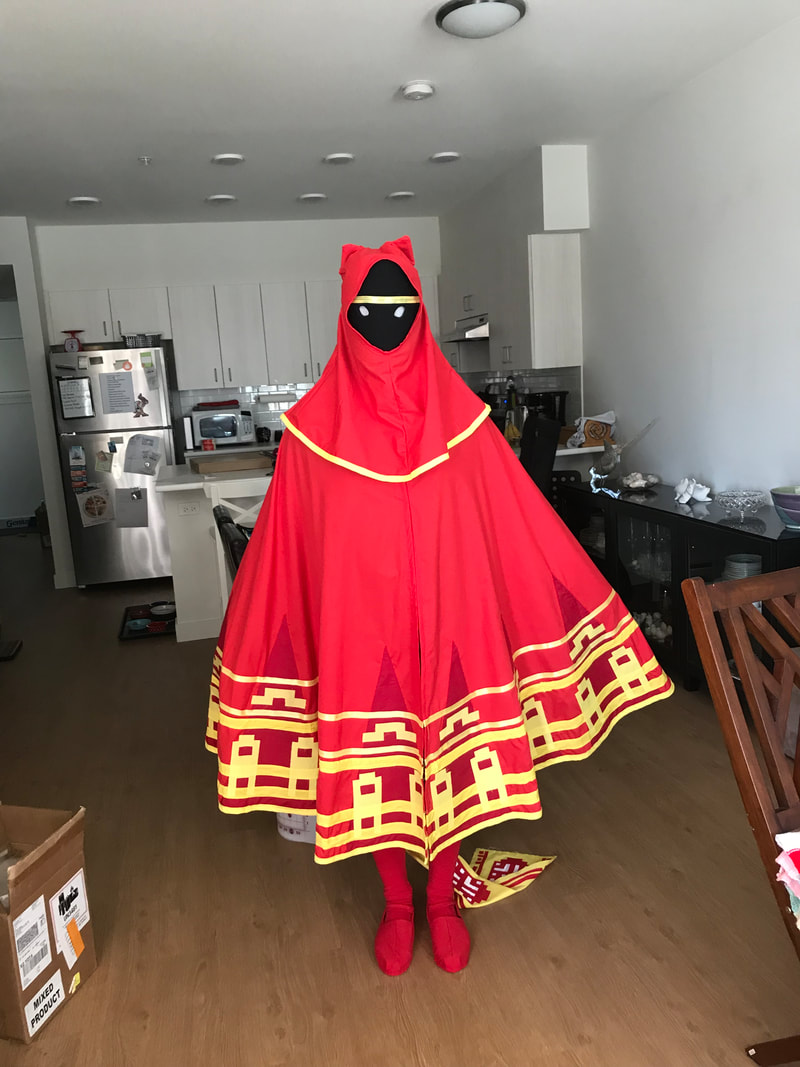
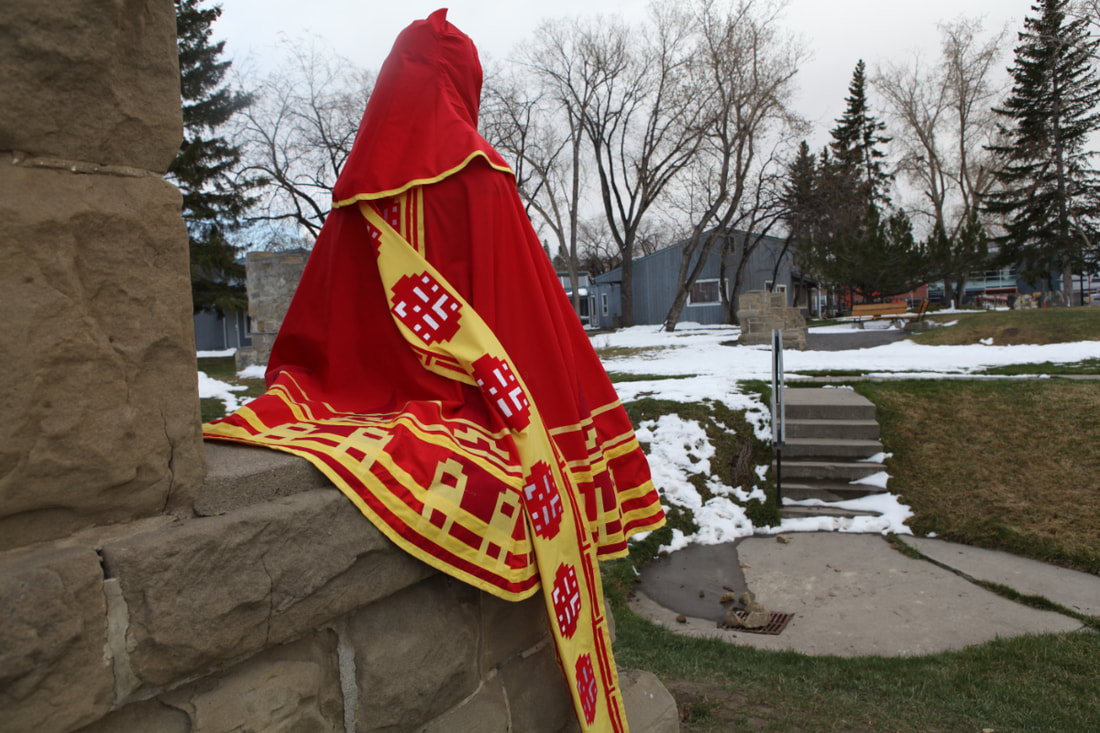
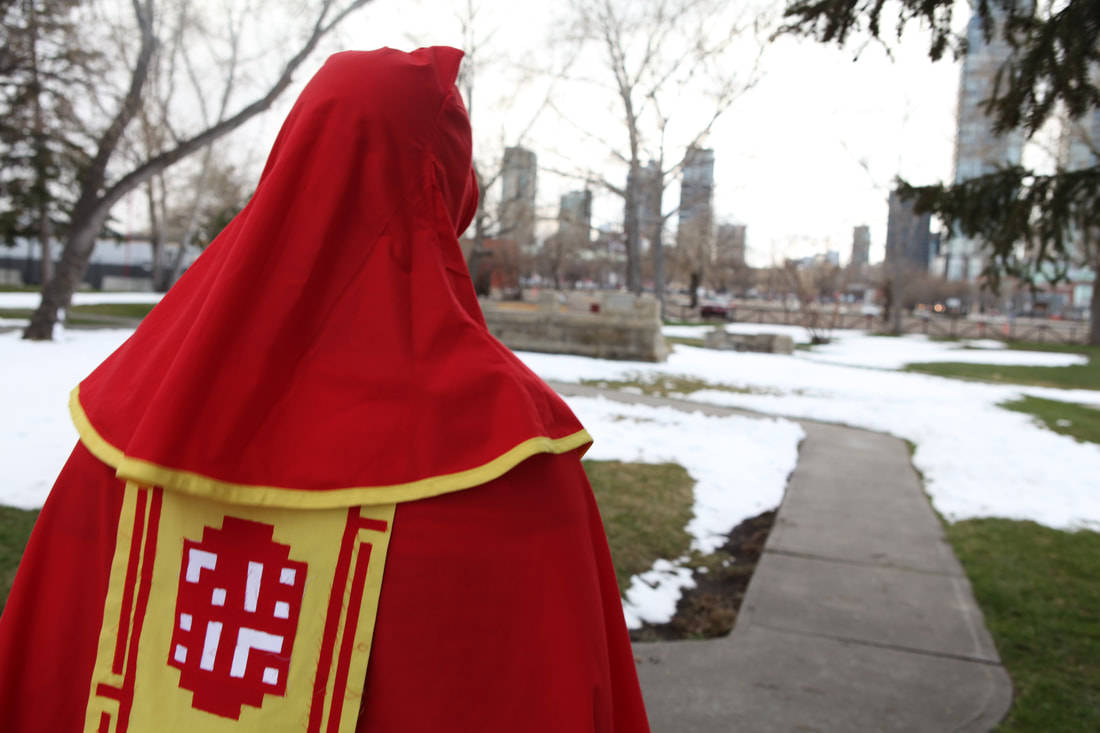
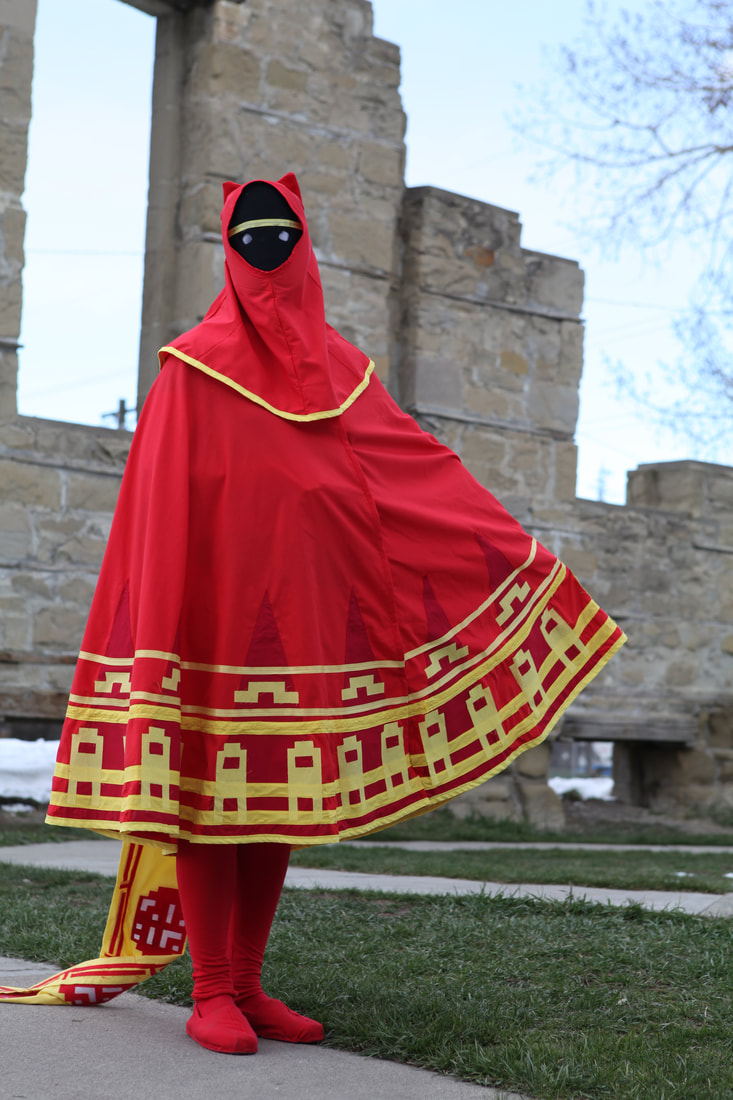
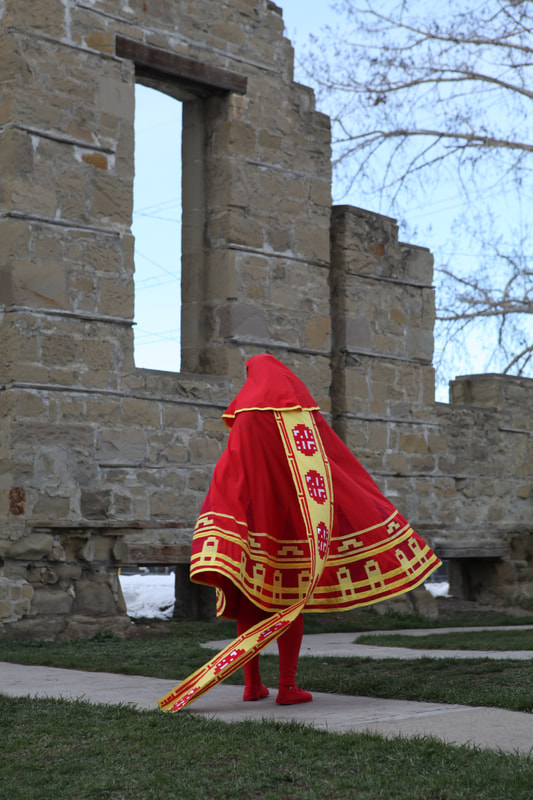
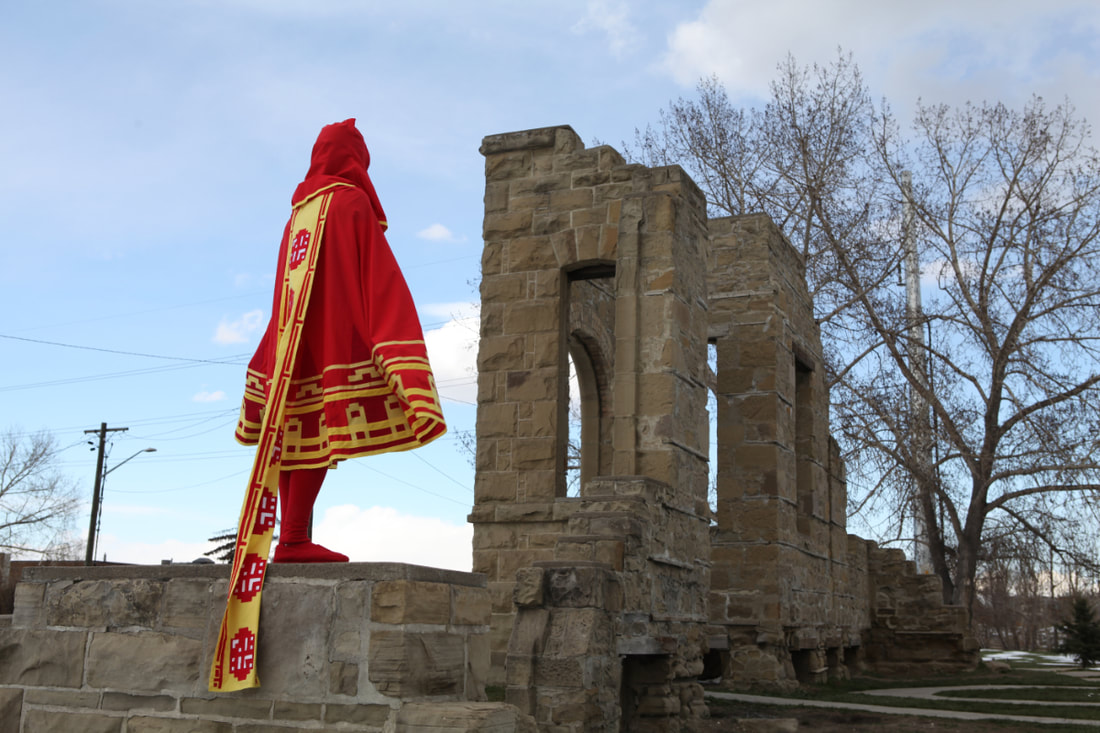
I started with a tutorial that I found online. I found the tutorial to be super helpful, but the patterns that it came with didn't fit me at all. So I had to get creative and make my own sewing patterns, as well as numerous measurement changes to the patterns supplied by the tutorial. I used broadcloth for the cloak, hood, and scarf as well as all the glyphs. I added craft foam to the inside of the hood to keep the "ears" upright. I used Bias tape and edging to make the lines across the cloak. I used a white crepe to make the glyphs metallic on the scarf. All the glyphs and details were ironed on using either Steam-a-Seam2 or HeatnBond. The bias tape lines were sewn on, as well as in some spots I added specialty embroidery stitches to make it a little more unique and intricate. I sewed in a hook & eye in the top of the cloak to hold it closed around my shoulders, and added snaps all the way down to the bottom to keep it closed. I used different weight snaps to keep different parts closed, as at the top there is a lot of weight pulling on the collar so it needed a heavier snap to do the job. I used a red stretchy sweat pant material to make the leggings, and created the pattern from an existing pair of leggings I already owned. The shoes I purchased at Walmart, they are similar to Tom's. I used the same red sweat pant material to make shoe covers. I made the pattern by cling-wrapping the shoes and covering them in masking tape. The mask is a piece of black EVA foam that (with help) I heat molded, using my knee to round out the inside. We used a dremel to sand down the edges and eye holes. I used spray adhesive to adhere a piece of black stretch fabric over the top of the foam, and also adhered some white fabric over the eye holes. The ringlet is the same edging I used on the cloak attached with e6000 glue.
Thoughts on this costume:
This costume was definitely not as simple as I had thought it would be. Since I had started by following a tutorial, I thought it would be a piece of cake. It turned into me having to do a lot of problem solving and being innovative to make the costume work for me. Making my own sewing patterns, trying multiple different items to keep the cloak closed, and after completion there was already a lot of things that I needed to clean up like excessive fraying on the broad cloth. Overall I am super happy how this costume turned out! It's comfortable and easy to wear and maneuver in, and visibility is better in the mask than I thought it would be! I can't wait to see what everyone thinks of this costume!
In Progress photos
Appearances:
Calgary Expo 2019
Calgary Expo 2019